At-home hair gloss treatments are the best hack for my curly hair
Photography by Jolie Price
WORDS BY ALICE JOHNSON
Get glossed.
A full disclaimer is necessary before we get started: I am not a hairdresser. I’m just a girl with hair (type 3a to 3b curls) and a years-of-salon-dyes-shaped hole in her pocket. If you’re recovering from a bad bleach, or you have one of those trusty hairdressers you know and love on a personal basis who would take a knife to your throat if you ever treated your hair at home, please consult them first.
For more skincare talk, head to our Beauty section.
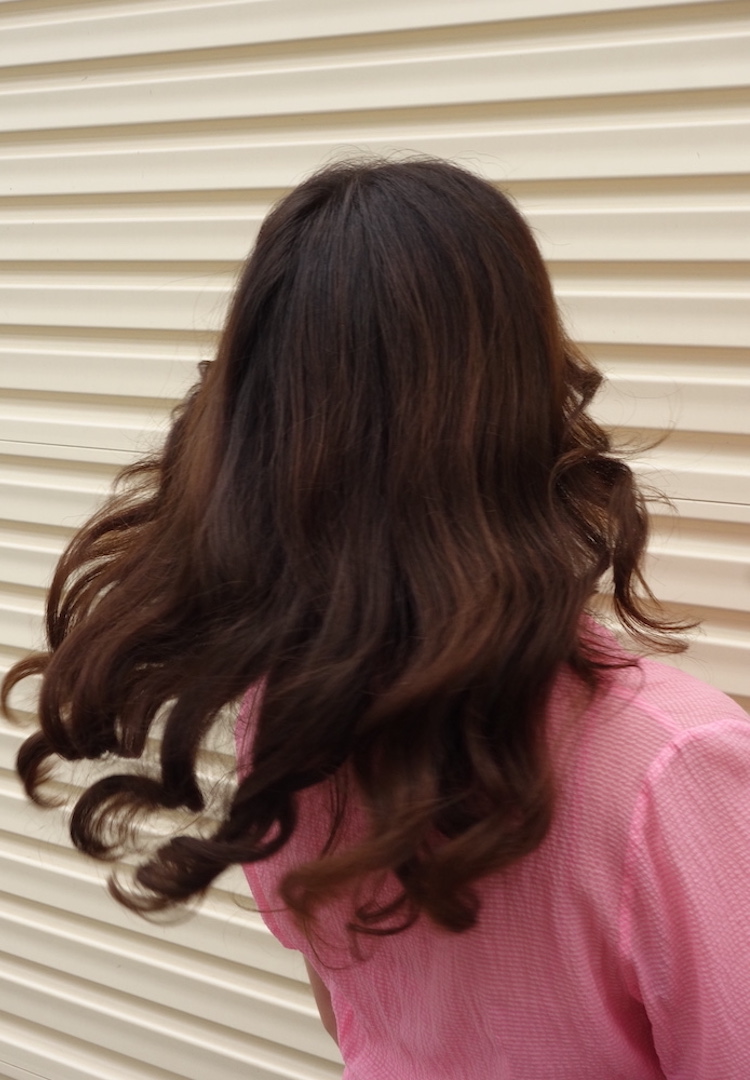
That being said, I have found at-home hair gloss treatments one of the best tricks in the book when it comes to maintaining my big crop of curly locks. I was an early adopter of hair glossing from as far back as my high school days, when I begged my mother for Avril Lavigne-style blonde stripes. She counter-offered that she would teach me how to at-home dye to enhance my natural colour instead.
What is a hair gloss treatment?
The baby sister of a semi-permanent dye, a hair gloss treatment is sometimes referred to as ‘demi-permanent’ and is designed to renew a recent dye, or even-out your natural hair colour, while adding shine and dimension. Hair glossing is the perfect way to extend a salon colour or maintain a natural look. It’s probably not the best option for a more stylised colour like a balayage, as it’s really more of an all-over treatment. I’ve always opted for a coloured gloss but there are clear hair glosses on the market too, if you’re looking for some gleam without a hue.
Again, not a hairdresser, but I imagine a clear hair gloss would be a great option for our blonde friends. Most glosses are formulated to last for around four to six weeks, this is of course dependent on the integrity of your hair, how frequently you wash it and whether you’re partial to a dip in a chlorinated pool. I find I can get a good month out of my hair gloss before I start to notice I’m not catching a shine in my reflection as much as I’d like.
How to do your own hair gloss treatment
First, you’re going to need to purchase a gloss. The good news? Most at-home hair glosses are very affordable compared to getting an in-salon treatment. I try to avoid anything containing ammonia, which is a common ingredient in dyes, as it’s very handy for lifting the pH level of our hair but it can be harsh on the fibres of our strands (and it smells pretty terrible too). Most hair glosses on the market tend to be ammonia-free but it’s always worth checking the ingredients. Since the aim of the game here is sexy, soft and shiny locks, I also make sure I have a deep conditioner on hand for post-treatment.
There are higher-end hair glosses that look fab but I’ve been using the L’oreal Casting Creme Gloss for ages. The golden rule is to pick a gloss close to your current hair colour. As a purveyor of chaos and change, I do find this very counterintuitive (if you saw me in a Chemist Warehouse weighing up between an auburn hair gloss and a violet-purple box dye, no you didn’t).
The application process will depend on what you’re using, and I beg you to please read the label! I find I achieve the best results when I wash my hair the night before, so it’s clean from environmental factors like dirt and any styling aids I’ve used. I also don’t put any product in after washing. This allows some time before the treatment for my natural oils to restore which helps the gloss cling to my strands. When it’s time to gloss, I apply the solution directly to dry hair – this makes it easier for me to identify any sections I’ve missed.
You, as an organised individual, may want to section your hair and apply it from root to tip. I, as a believer in mess and chance, like to just lather it in like a shampoo, focusing on my ends when I remember to. Another thing I love about hair gloss treatments is that the process is less nerve-wracking than a dye. Remember you’re using something very similar to your current colour, so it’s pretty hard to get it wrong.
Once I’ve slathered the product through my whole head, I then comb it through with an old (so it doesn’t matter that it gets dirty) wide tooth comb, plop it all on the top of my head, and wait the directed amount of time – usually around 20 minutes. I wash it out with warm water and finish off with a deep conditioning treatment. Voila! Fresh, shiny hair.
Glossing over it
All in all, a hair gloss treatment is a very achievable, beginner-friendly way of extending the time between trips to the salon or maintaining a natural look. With the summer months here, it’s also a low-cost, fairly foolproof way to keep your hair looking healthy, which we always love.
This article was originally published on November 7, 2022.
For more on hair gloss, try this.

