


An introduction to non-touring, for the uninitiated
As easy as one, two, three.
We know, beauty trends come and go quicker than seasons change.
It can be hard (and expensive) to keep up, which is why non-touring is one trend we’re happily sticking to. Minimal effort and money is needed to perfect this natural look (hallelujah!).
We went to Global Makeup artist for Napoleon Perdis, Shev Kelly, to find out more.
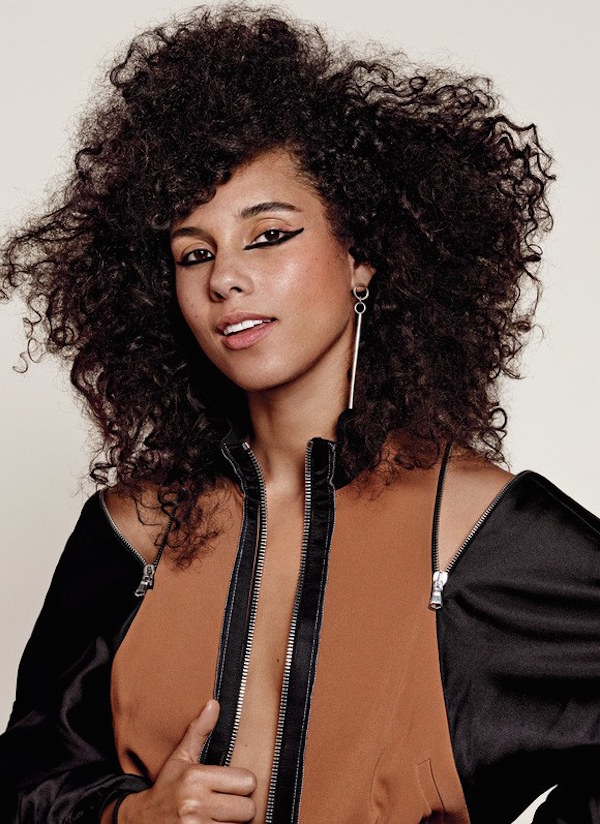
What is it?
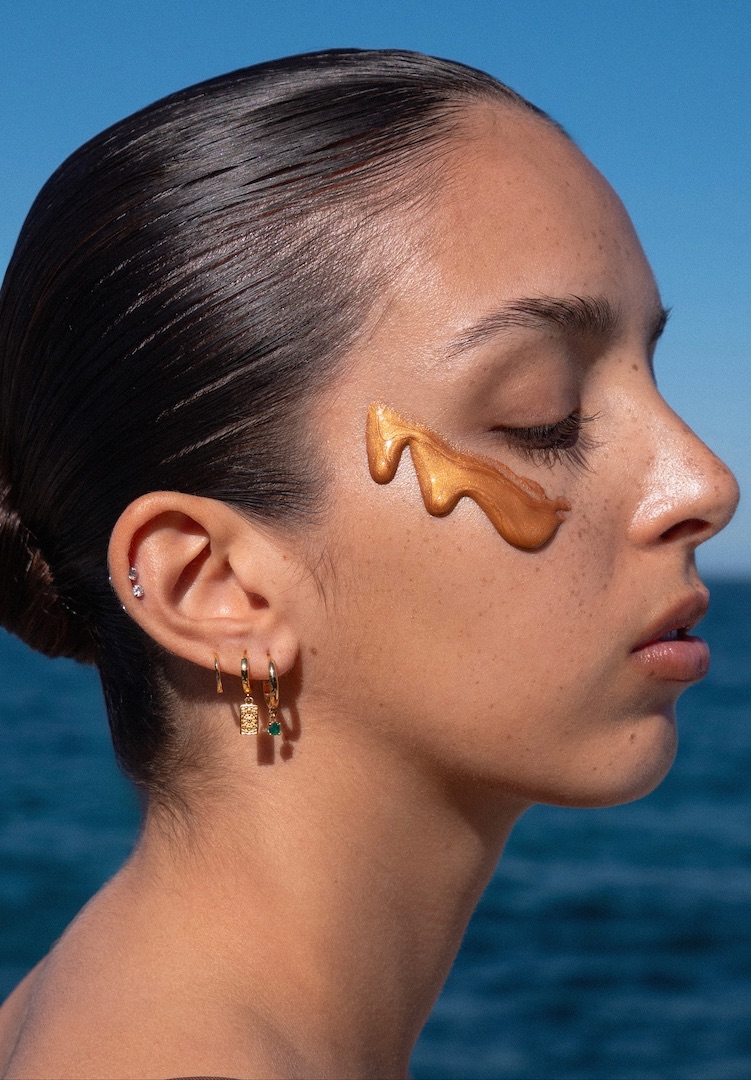
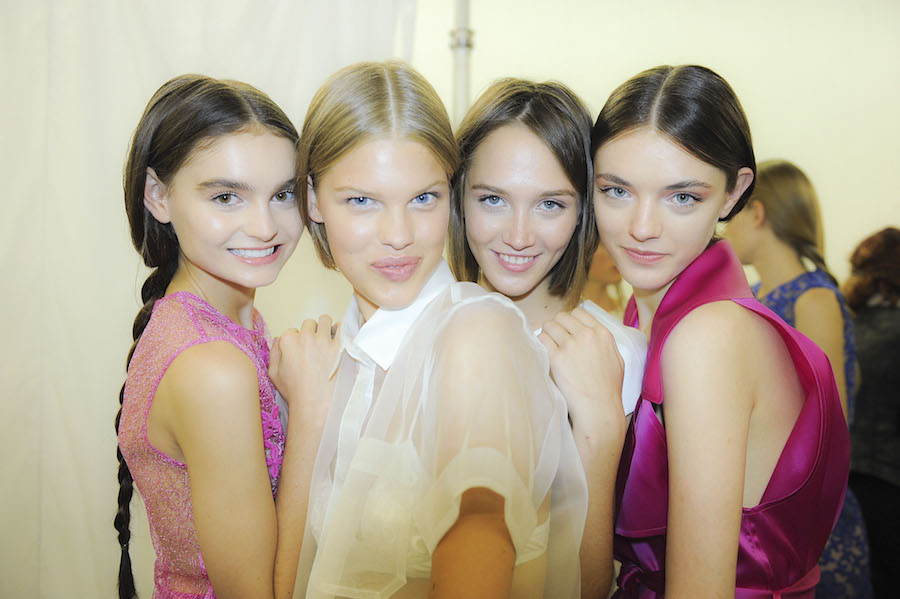
‘Non-touring’ is a word you’ve probably seen cropping up in your newsfeed lately. The term refers to light makeup sans dark, thick contouring. The result is a natural and elevated look.
“More commonly than not, when contouring, people shade and sometimes neglect the highlight,” explains Shev. “This can create harsh and unnatural looking contours.
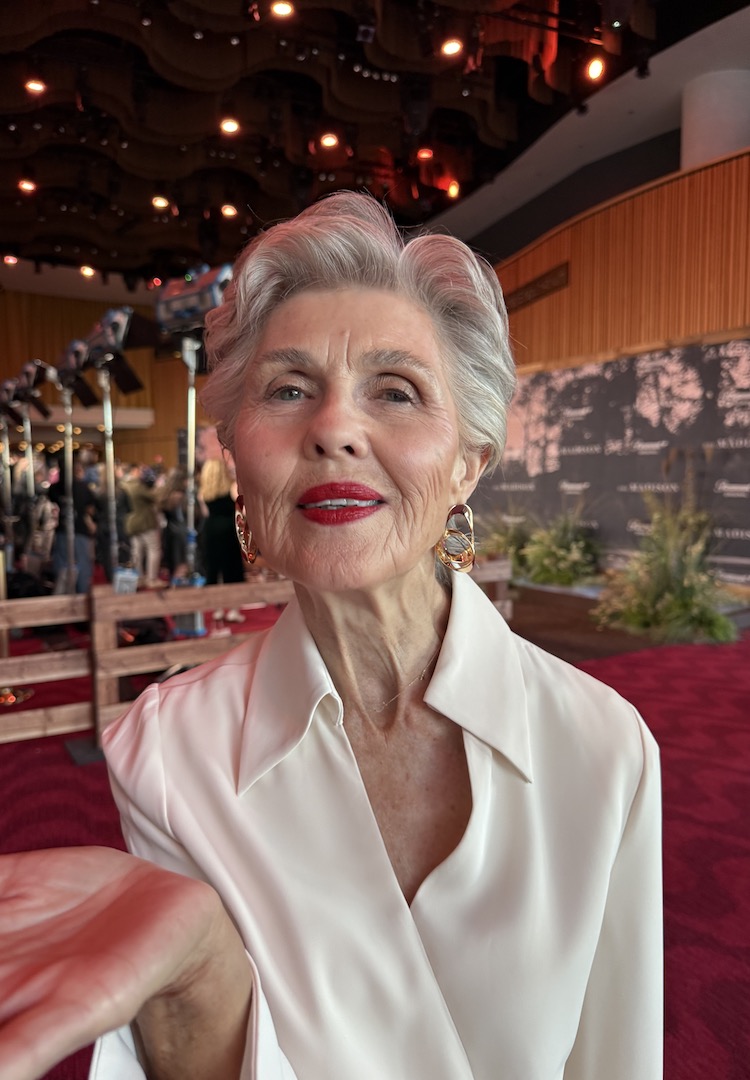
“Highlights, on the other hand, can be used without shading and are the easiest way to cheat a lifted, smooth and more youthful appearance.”
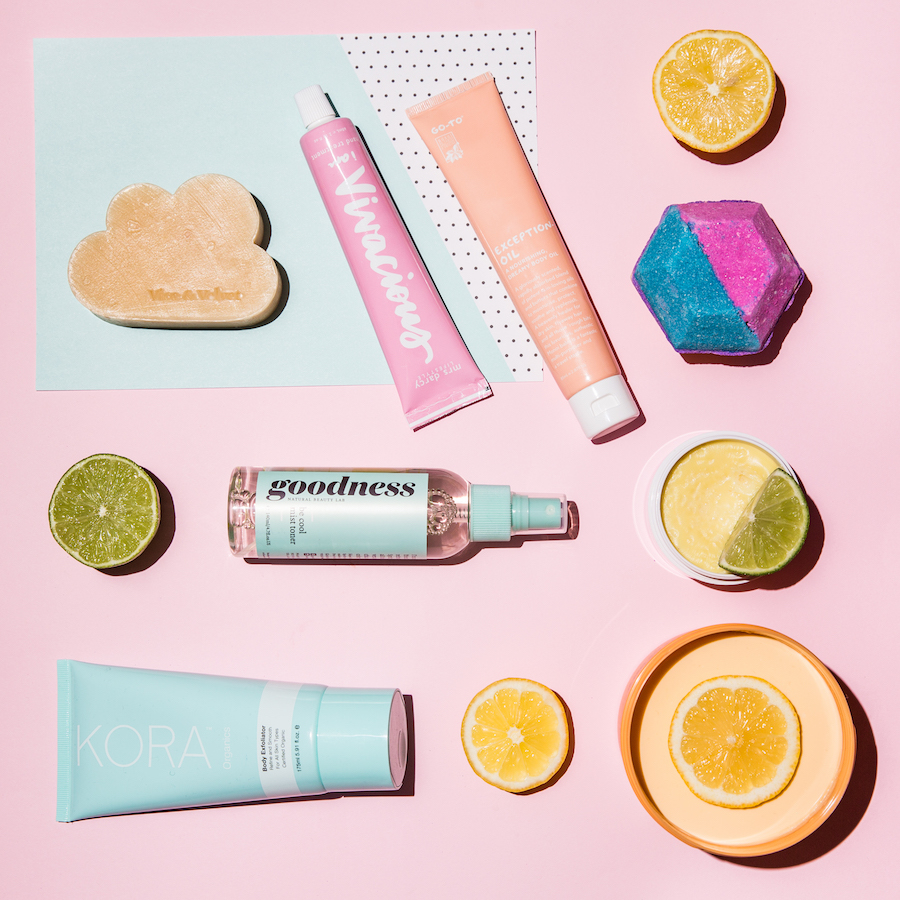
Key products
The worst part of any new trend, is the cash you have to drop to nail it. For once, however, this one is pretty achievable with your existing makeup and tools.
“An essential brush for larger areas such as the top of the cheekbones, chin and forehead is a medium-sized blush brush,” says Shev.
“For smaller areas, such as the nose and eyes, try a small fluffy eyeshadow brush.”
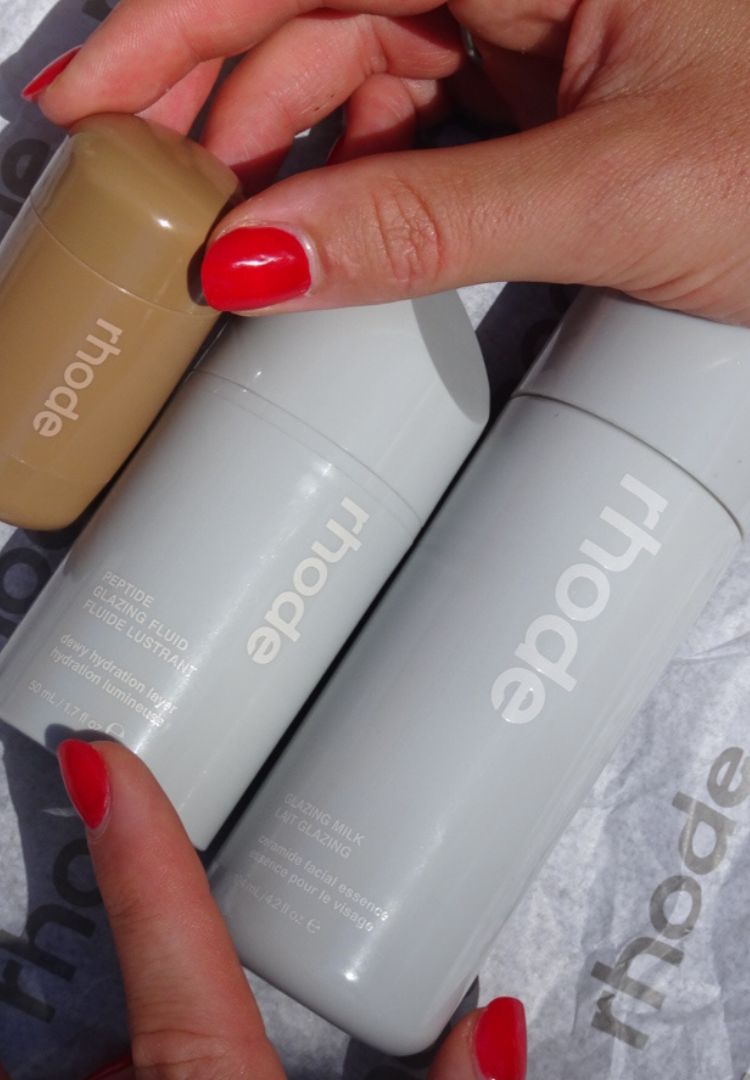
As for makeup, you’ll need at least one highlighting product and it won’t matter what kind. A subtle metallic cream or powder formula are both easy to apply, just make sure you choose a product two shades lighter than your skin tone.
How to do it (successfully)
Once you’ve got your tools and products sorted, you’re ready to go.
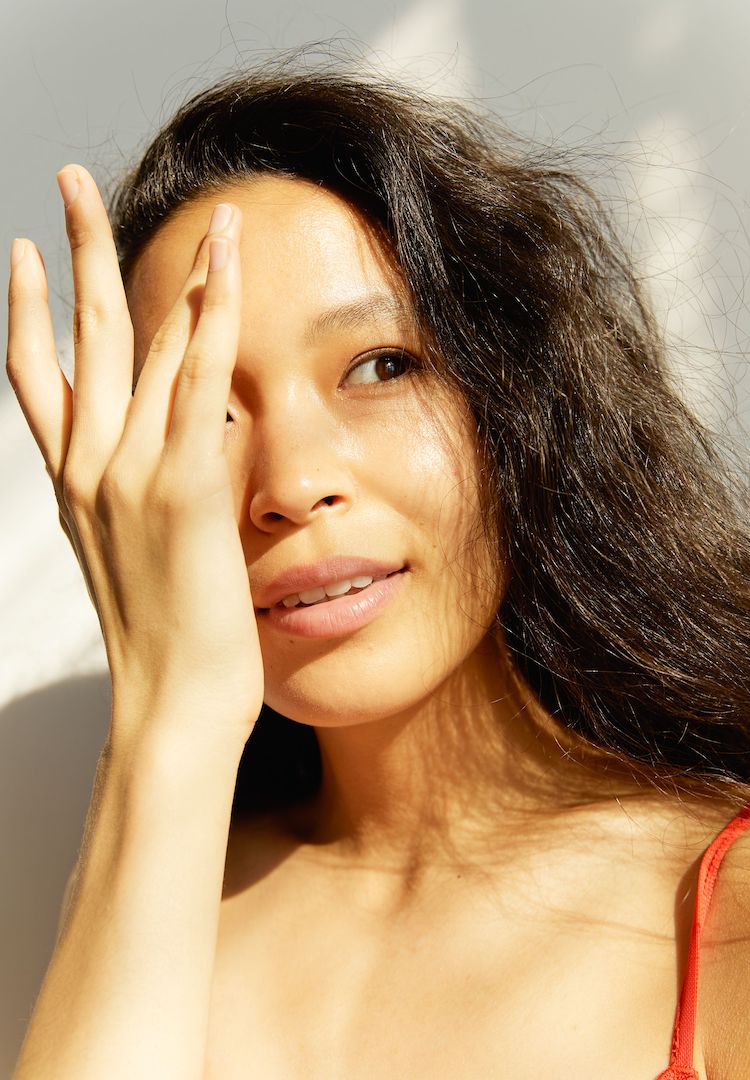
Before you begin, apply your base (foundation/concealer/powder). Next, look in the mirror and assess the areas you either wish to lift, appear bigger or highlight. This is where your products should be applied.
Start with a light application then build as you see fit. And remember: highlighter should only be applied to areas you wish to accentuate or lift.
The three steps to highlighting like a pro:
- To give the face a lifted look, highlight the top of the cheekbones. Using a blush brush or your fingertip, lightly sweep or tap your highlighter onto the top of the cheekbones. Blend upward, toward the hairline.
- Create a fuller pout by using your fingertip to tap highlighter onto the Cupid’s bow.
- Make your eyes pop by using a fluffy eyeshadow brush to apply highlighter to the brow bone and inner corner of the eyes.
Things to avoid
The best bit about this non-touring? There’s really no way you can stuff it up. That means hours saved practising in front of the mirror and zero time spent in front of YouTube tutorials. As Shev says:
“Ensure you use a highlighting product two shades lighter (not a stark white) than your skin colour and you can’t go wrong.”
Liked this? You’ll love these...