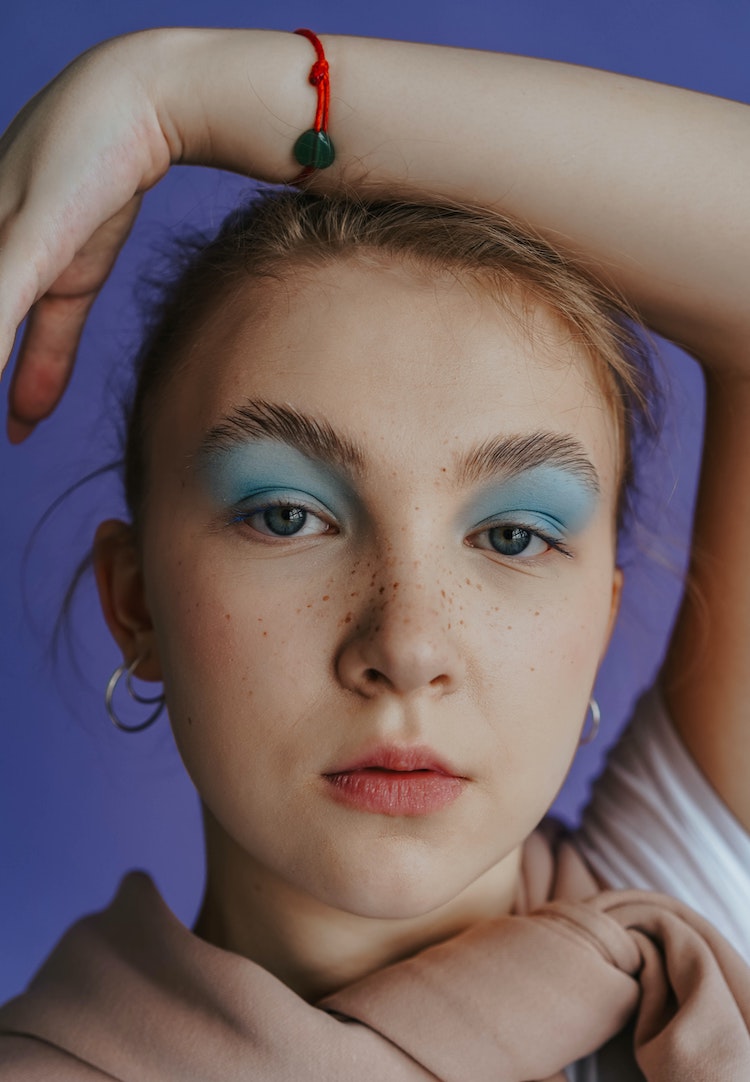


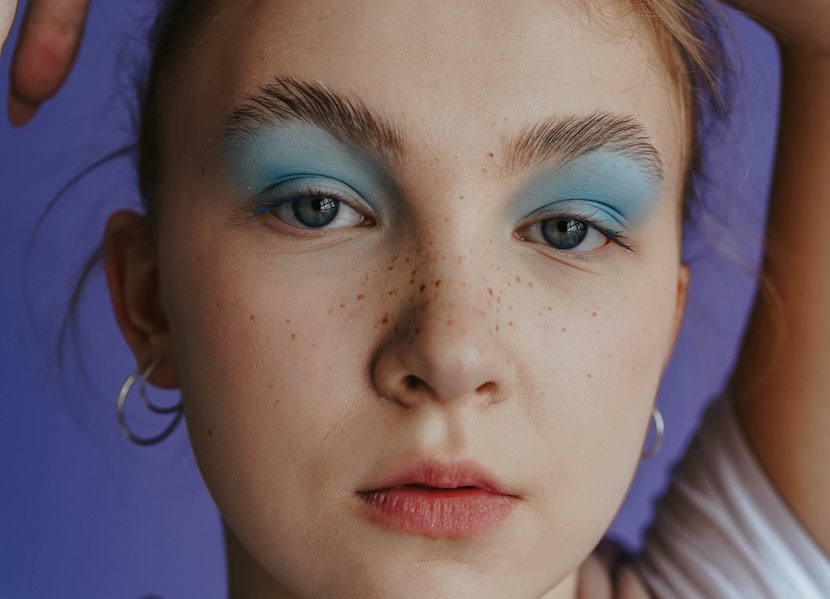
A foolproof guide to tinting your eyebrows at home
WORDS BY ALICE JOHNSON
To tint or not to tint.
In recent years, I’ve found real joy in becoming a bit of a beauty-DIY enthusiast. In 2016 you would have probably found me fleeing from the hair salon after dropping $600 on highlights, on my way to a dermaplaning facial all while carrying around a $7.50 almond latte. These days? I pinch my pennies like they might be worth something one day (I’m a recession denialist).
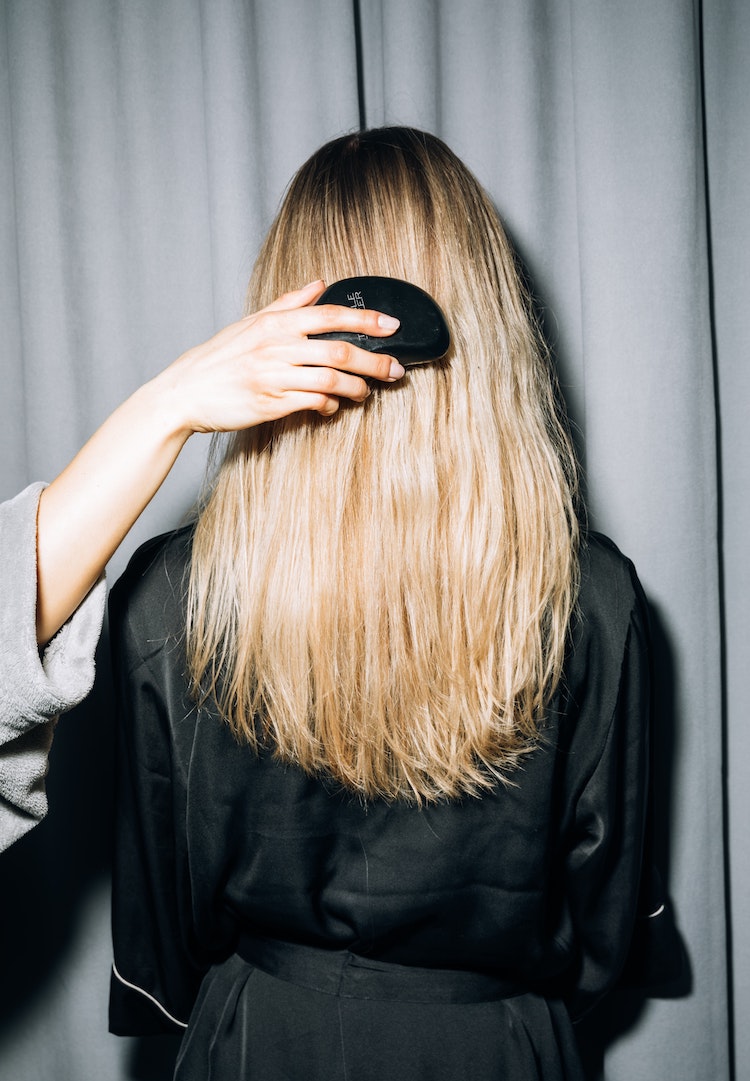
I started performing some of my regular beauty-preening habits at home long before the $12 watermelon-gate incident though. Some out of convenience (like glossing my hair at home), and some quite simply because they’re a fun self-care routine addition. Tinting my own eyebrows is a bit of both. As someone who likes to let my natural brows shine, I’ve found tinting at home the perfect way to accentuate my sisters (not twins) between salon trips, and an easy way to speed up my makeup routine.
To find more articles like this, head to our Beauty section.
If you’re someone who’s intimidated by conducting your own beauty experiments, I’ve outlined some of my best amateur tips to achieving a well-defined brow on your own time. I promise it’s not nearly as tricky as you think!
Disclaimer: A tinted brow isn’t for everyone. If you’re someone looking to alter the shape of your natural brow, lighten your natural colour, or have very thin hair that needs some TLC, you’ll be better off going to a trusted brow specialist.
Tinting essentials
So, you want to be a DIY brow girlie? Well, it’s time to get your tinting supplies. While there are of course some initial costs involved, the long-term cost of doing a DIY tint really pays off. I am spending around $30 every six months on doing my tint at home, versus a $30 (or more) add-on for one treatment in a salon.
Over time I’ve perfected my tinting tool kit down to a few key items that make the process smooth, efficient and mess-free. You’re going to want to get your hands on the following:
- Dye and activator (more on choosing the right one for you below)
- Eyebrow spoolie
- Cotton tips
- Vaseline. Do not skip this, it’s very important!
- Small bowl or tray to mix dye (I have a small metal tray so I can re-use it every time, but plastic would work too)
- An old tea towel to lay down to protect surfaces
- Make-up wipes or a cloth you don’t mind getting dirty (but can use on your face)
- Gloves (non-professional opinion: this is optional if you’re a goblin like me who doesn’t care about potentially dying your nail beds black for a few days, just make sure you wash your hands!)
The right dye for me
There are plenty of tinting sets available on the market that will have a lot of what you need in one package (I’m sure you’ve heard of the old faithful 1000 Hour Dye Kits), but you could also opt to purchase your dye and tools from a professional wholesaler online. Most will allow you to purchase single-use quantities. Make sure you research whatever your choice is before purchase and pay attention to the ingredients if you have any allergies or sensitivities.
Deciding on the right colour for you is a little bit of a choose your own adventure step. You might want to enhance your brow by using a similar colour to your natural hair. As most dyes also stain the skin this is a great way to fill in natural gaps. Or maybe you want to match your brows to your new hair colour. To do this, you could purchase a few colours and mix them together for a desired tint. I often mix a little black with a dark brown or auburn dye to achieve a thick, overstated brow.
Whatever you choose, always perform a patch test on the body first. For your first time, I would recommend leaving the dye on a few minutes longer than the recommended time to check how deep the colour develops on your hair and skin.
Tint time!
Once you’ve got all your bits and bobs it’s time to paint the brows red (or whatever colour you choose.) As we’re dealing with some pretty serious stuff here I strongly advise you to follow the instructions of your dye or tint kit, but this is usually pretty much the way I get down to business:
- Pour wine
- Wash your face ensuring your brows are clean and dry
- Give your brows a nice little brush with your spoolie
- Lay out all your tools on an old tea towel over a basin or table
- Mix dye with the activator in accordance with the instructions (I usually mix it with a cotton tip)
- Dip a cotton tip into the Vaseline and apply around the edges and middle of the brow that you don’t want to tint. This stage will help define the shape your tint carves out, so be careful not to over or underline with the Vaseline
- Once ready, apply the dye with a cotton tip to each brow. Apply the dye from the outer tip first if your ends are sparser
- Take a clean cotton tip (you might need a few) and wipe any excess dye off. Use your Vaseline as a guide to the outline you want to achieve
- Sip wine
- Wait the time allotted via instructions (usually around 10 minutes or less time if under developing) and wipe or wash off the dye with a few makeup wipes or a wet cloth. Make sure all dye is removed
- Brush out brows again with your spoolie and assess! (If you’ve gone a little OTT, you can wash your brows with a gentle cleanser)
And that’s it
Most tints will last anywhere from around seven days to four weeks, usually for less time on the skin and longer directly on the hair. I find that re-tinting every two to three weeks helps me continuously skip having to fill in my brows. I would also recommend investing in a clear gel to really enhance those gorgeously tinted brows. Happy tinting!
Wanting to know the best eyebrow shape for your face? Try this.
Liked this? You’ll love these...