

Viral beauty techniques, explained by a makeup artist
You’ll be underpainting like Hailey Bieber and mastering the Nina Park lip in no time.
You know you’ve made it as a makeup artist when you get a technique named after you. Years ago, when I started working at the MAC counter as a teenager, it was rare for a single beauty method to go viral like it does today. But before we were blurring our cupid’s bows like Nina Park, underpainting like Mary Philips and pinpoint concealing like Lisa Eldridge, one selfie broke the internet: the Kim Kardashian #kontour.
The post, shared on Instagram in 2014, showed Kim K with her face mapped in unblended streaks of foundation and highlighter by makeup artist Scott Barnes. Captioned “Wanna see how @scottbarnescosmetics contours?!”, it gave millions of followers a glimpse at how Kim’s famously chiselled features were created.
We like nosy people. Don’t be shy, head to our Beauty section for more.
With my boots on the ground at the time, I witnessed firsthand the global phenomenon that paved the way for contour kits – something that hadn’t yet made its way into our everyday makeup bags.
In reality, most ‘new’ viral techniques have been around long before social media existed – fine artists, drag queens and makeup artists on Old Hollywood film sets simply weren’t sharing their tricks with a public audience.
A lot has changed since the 2010s. For one, today’s viral beauty looks are much more subtle than the Kardashian-Jenner era of sharp contouring and sculpted brows. We’ve shifted to a ‘natural’ aesthetic, defined by an almost undetectable finish – and ironically, it takes precise skill and patience to achieve. From underpainting to pinpoint concealing, these are the techniques that are worth mastering.
The Nina Park blurred lip
View this post on Instagram
If you’ve been living under a rock and don’t know who Nina Park is, you’ve definitely seen – and most likely saved – her work. She’s the makeup artist every A-lister has on speed dial, from Greta Lee and Emma Stone to Addison Rae and Zoe Kravitz.
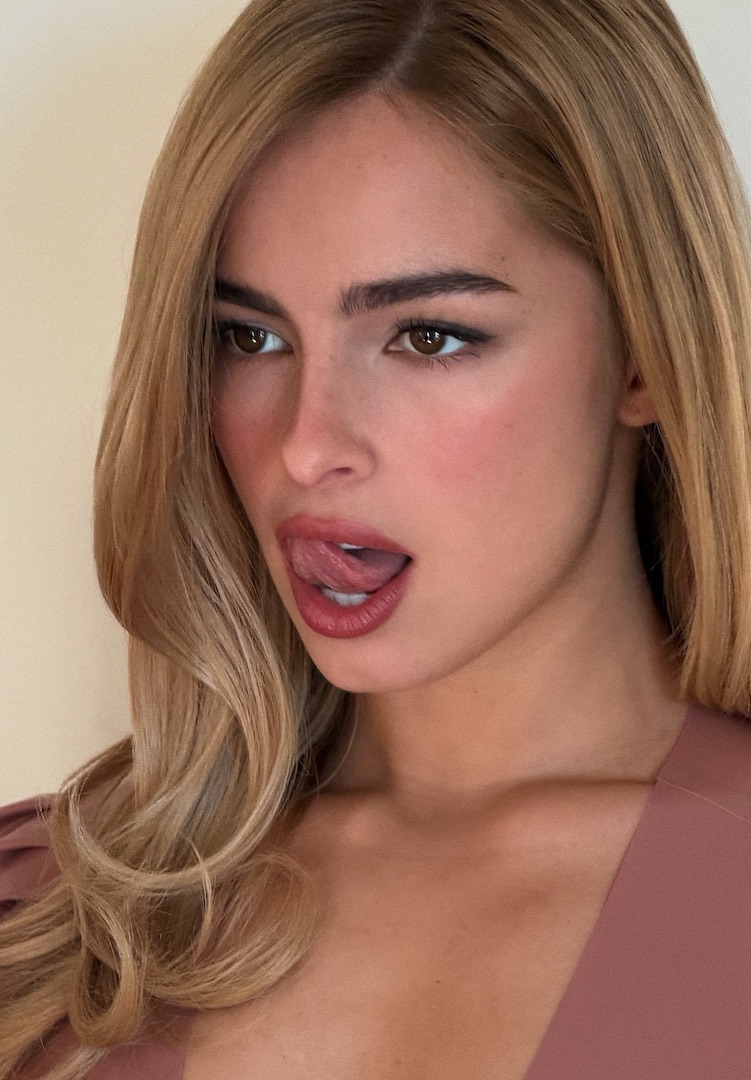
The Nina Park look is defined by natural-looking skin, diffused eyes, fluffy brows and a signature blurred lip that’s being recreated everywhere. While overlined lips can often look harsh (think Marnie from Girls on her wedding day), Park creates the illusion of fuller, pillowy lips in a much softer way.
What’s the technique?
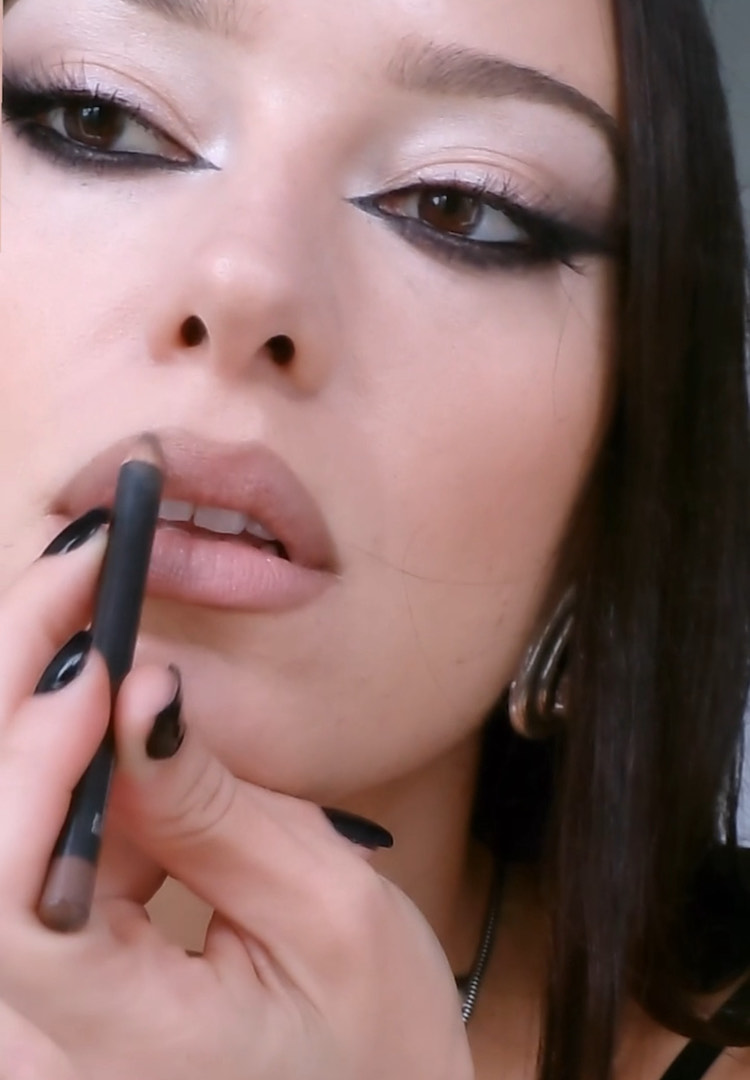
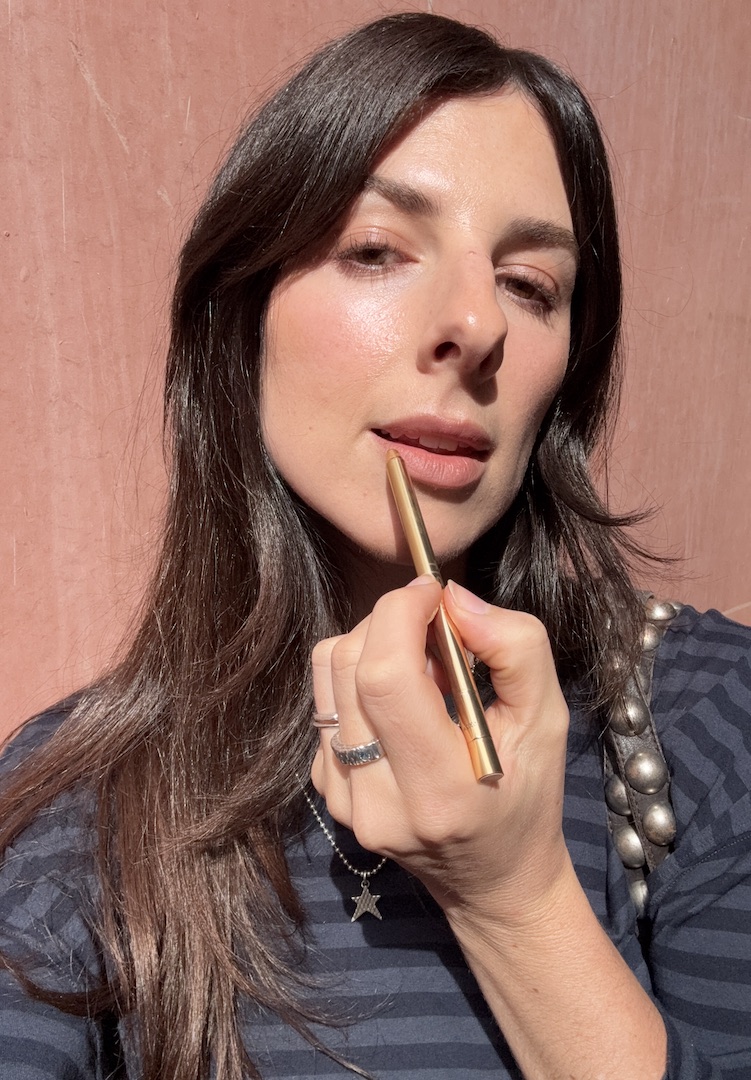
If you really study a Nina Park lip, it’s all about contouring. She applies a taupe-brown contour to the corners of the lips and the cupid’s bow, blending it beyond the natural lip line to add volume. Keep the overlining and shading within the centre of the lip – this will create a pouty look, rather than a wide mouth. She then goes over the natural lip line with a slightly darker lip pencil, blending that inward. To finish, she may apply a sheer, warm nude colour to the centre of the lip or leave it free of colour for that Zoe Kravitz look.
View this post on Instagram
The best products for the Nina Park lip
For best results, you’ll need two lip liners and a small blending brush. For the lip contour, use a cool taupe or brown shade like Rhode Contouring Lip Shaper in Twist, Mecca Max Multiplayer Mode Shaping Stick in Level. Diffuse the sharp edges with a lip brush like this one from Kylie Cosmetics.
Then go over your natural lip line with a slightly deeper or pinker pencil, depending on your complexion – I like Isamaya Beauty Lip Pencil in Gesha, or Merit’s Signature Lip Liner has a great range of nude shades with a sheer finish, perfect for achieving this look. Finish by dabbing a sheer matte lip colour such as Glossier Generation G in the centre, choosing a shade close to your natural lip colour.
Pinpoint concealing
View this post on Instagram
Made famous by British makeup artist and YouTuber Lisa Eldridge, the pinpoint concealer (or “microdose concealer”) technique uses precise coverage with minimal product to even your complexion, rather than layers of foundation. It takes patience, but results in incredibly natural-looking skin. It’s a game-changer for anyone struggling with acne who wants to avoid heavy coverage.
What’s the technique?
Eldrige uses cream concealer and a teeny-tiny blending brush to cover blemishes, redness or pigmentation with a ‘pinpoint’ of product. She then carefully stipples and blends around the spot so it seamlessly fades into the skin. Typically, she applies a sheer tint first, however, it works just as well on clean and moisturised skin.
The best products for pinpoint concealing
A matte cream concealer works best for pinpointing, such as Glossier Stretch or Nars Soft Matte. For something more precise, Lisa Eldridge created her own Pinpoint Concealer, a micro-correcting pencil that comes in an extensive range of shades to match your skin tone and undertone. For the brush, something small and tapered, but still fluffy – I like to use an eye brush like the Morphe M383 Pointed Detail Eye Brush.
The Underpainting method
View this post on Instagram
Who doesn’t want to learn a trick or two from Hailey Bieber’s makeup artist? Mary Phillips is responsible for bringing ‘underpainting’ to the mainstream, a technique that creates that sculpted, snatched complexion we’re all looking for.
Similar to the viral Kim K photo, this method involves mapping out your contour, colour corrector and highlight before applying a sheer foundation or skin tint over the top. Sort of like doing your makeup backwards.
What’s the technique?
Mary Philips has a good video showing exactly how to do this, starting by painting a matte highlighter where the light naturally hits your face: between your brows, under your eyes, down your nose and beneath your cheekbones. Next, she applies a peach-toned colour corrector under the eyes to lift and brighten dark areas, like the corner of the nose and outer corner of the eye.
View this post on Instagram
For contour, she uses a cool-toned shade and applies it from the corner of the brow upwards, along the top of the forehead, under the cheekbones (‘hug’ under the highest point), along the jaw and down the sides of the nose. Finally, finish with a layer of sheer-to-medium coverage foundation. Because all faces are different, it’s not a paint-by-numbers approach – watch her video here explaining how she contours.
View this post on Instagram
The best products for underpainting
Mary Philips’ own brand, M.ph, designed its Underpainting Palettes specifically for this method, with five shades housed together so you can shape and sculpt. However, you can use any cream contour or lighter concealer to do this – some of my favourites include Kevyn Aucoin Contrast Sticks, Westman Atelier Face Trace Contour Sticks or the Patrick Ta Major Sculpt Artistry Stick.
V-Flick liner technique
Something I noticed as a makeup artist is that nearly everyone thinks they have ‘hooded eyes’. Often they don’t, but even if they do, it’s always said like it’s a bad thing. I have two words for them: Kate Moss. In fact, many famous models have hooded or deeper-set eyes, which simply means there’s less visible eyelid when your eyes are open. You can still do winged eyeliner; you just need to learn the V-Flick technique, also called the ‘kitten flick’.
View this post on Instagram
What’s the technique?
This one is easier to understand through a video, but essentially you’re drawing two lines at the corner of your eye in a narrow V-shape, then filling that in. Keep your eye open as you sketch out the two lines, and face forward in the mirror to check you’re happy with the shape. Instead of drawing the line all the way along your lashes, keep the wing focused on the outer third, which helps to open up the eye.
The best products for the V-eyeliner technique
While any liquid eyeliner can work, using a flat, slanted eye pencil like Half Magic Velvet Flick will make the job a lot easier. If you’re new to winged liner, try ‘mapping out’ the shape with a matte eyeshadow first, using an angled eyebrow brush before you go over with eyeliner.
For more on viral beauty techniques, try this.
Liked this? You’ll love these...