How-to: let’s make a raffia hat
Summer’s comming.
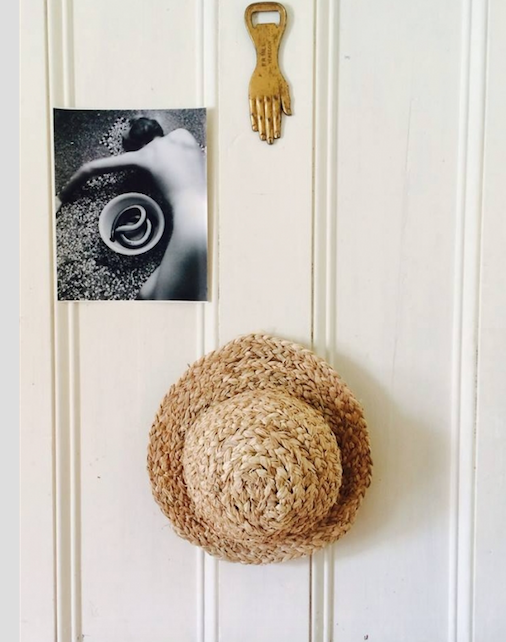
The sustainable raffia hat only gets better looking with age.
Plait away for some raffia nostalgia and make your very own unisex raffia hat. All you need is straw and a needle to bring this hat to life.
WHAT YOU WILL NEED
Raffia (around 5 bunches)
A large-eyed needle
Optional decorations (a feather, ribbon or any other oddities)
METHOD
1. Plait
Pop a record on and take a bunch of your raffia with around 12 long strands. Knot it and separate into three sections with three pieces of raffia per section to begin plaiting. You may need to pop the end of the plait under a book to stabilise it. You can choose either a three-strand or a five-strand plait. Thread in more strands of raffia in as they run thin. Start by plaiting around seven metres.
2. Swirl
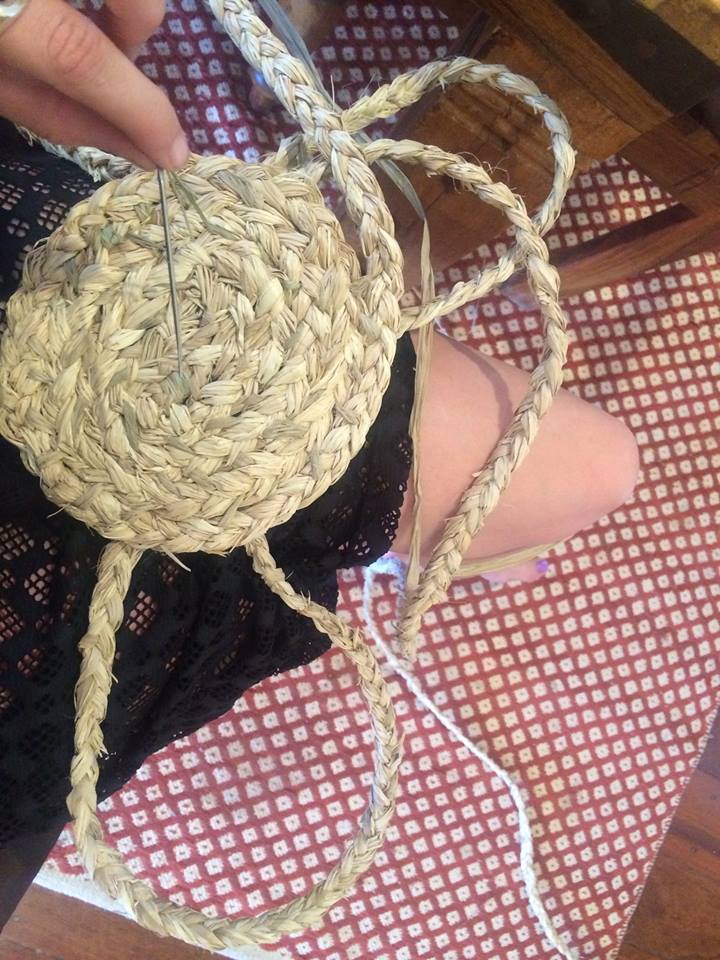
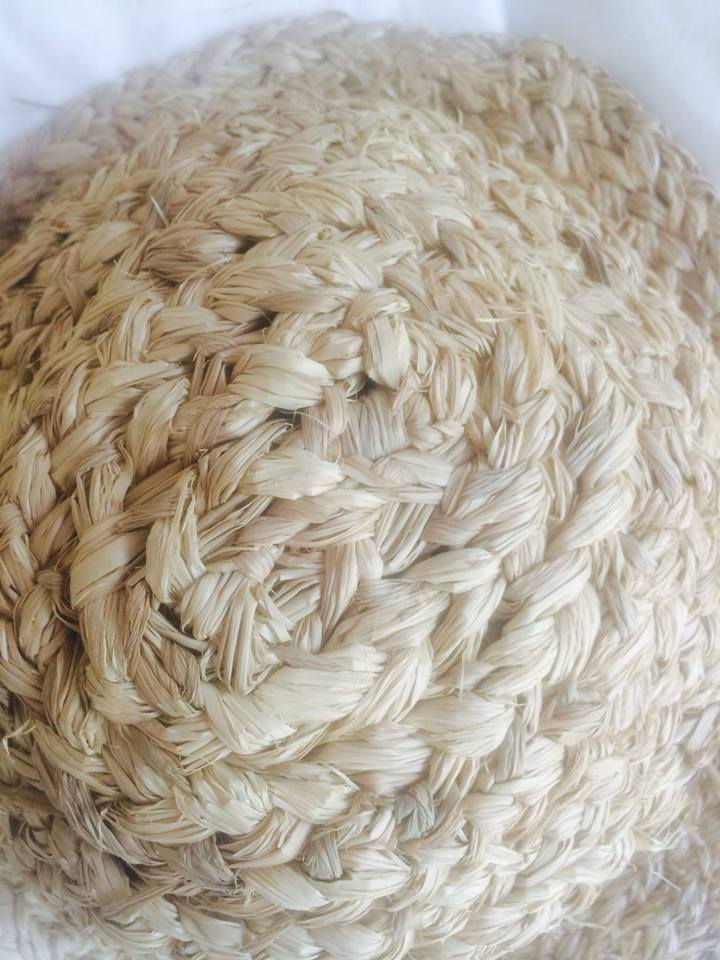
Start swirling the raffia around the knot in a round snail-like shape. Swirl five rounds for the top of the head.
3. Sew
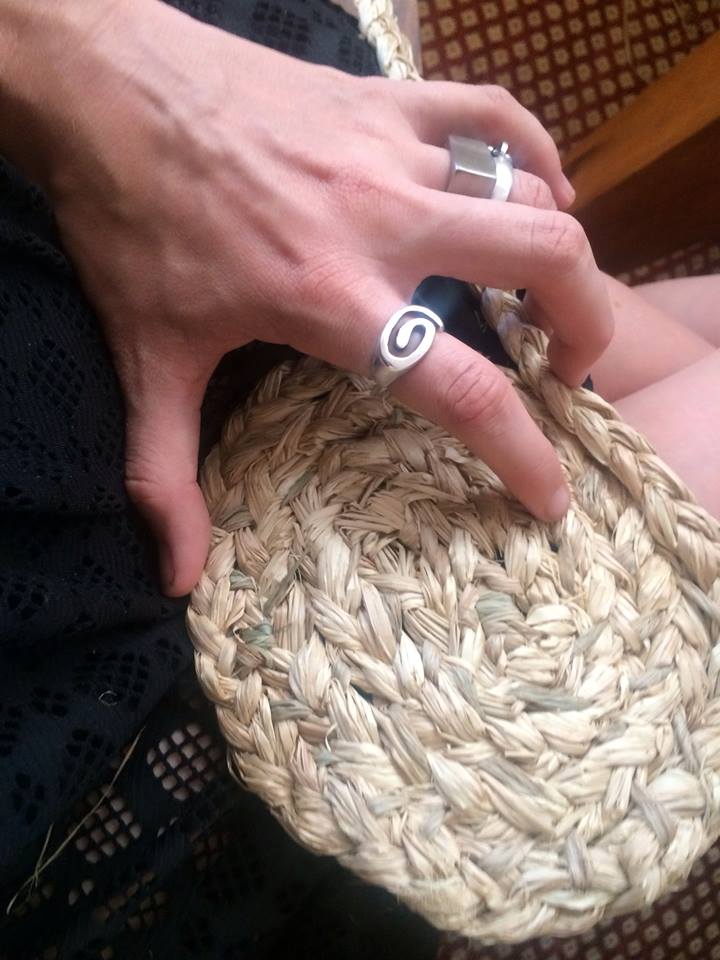
Thread a long piece of raffia into the needle and begin sewing your raffia snail together. At the beginning of the snail, undo the knot and wind some raffia around the end of the plait to hold it in place. Bend the plait to form a U shape and sew the two pieces together for about 5cms. You can then follow the snail in a circular shape. Pop it on your head after you have sewed five rounds and measure to see if you need another round or two. If it fits well, start curving your raffia downwards in vertical direction for around five rounds.
4. Brim
Pop it on your head again. If it fits nicely curve your plait in a horizontal direction to create the brim. Start with five rounds and see how you feel. You can create the brim as wide as you desire.
To finish off, gradually sew the plait under the plait above so it finishes neatly at the back of the hat.
5. Trim
Trim off any excess raffia

