


I tried a $80 at-home keratin treatment, here’s how it compares to the salon
words by lara daly
Testing the ANSWR At Home Keratin Treatment.
All my life, I’ve had frizzy hair. It’s not quite curly, more of a ‘boofy’ irregular wave pattern that I usually blowout or style with a Dyson Airwrap. Unless I’m on holiday and have access to saltwater, I’ve accepted that heat styling is just part of my routine to look and feel my best.
It is time-consuming, though. At the recommendation of a friend with hair as frizzy as mine, I started getting professional keratin smoothing treatments about two years ago. I was hesitant at first – my mind immediately went to images of Katt Williams – but after some research, I settled on the Kerasilk treatment, which, as my trusted hairdresser told me, would make my hair feel smoother and less damaged.
Want to snoop inside the beauty regimes of other creatives? Head here.
I’ve since had two in-salon Kerasilk treatments, and I love them. The silky smooth results are long-lasting; it cuts drying time in half, my hair stands up to humidity, and just behaves better. The downside is they’re really expensive, costing around $400 for hair my length, and take at least four hours in the salon.
I knew at-home keratin treatments existed. Every time I went into a Chemist Warehouse, I’d contemplate whether to buy a box of Kativa for $20 and give it a go myself. Thankfully, some dicey Reddit reviews (and my hairdresser) deterred me.
But recently, I heard good things about the ANSWR At Home Keratin Treatment and decided to put it to the test one afternoon. The kit I tried retails for $82 at Sephora or Adore Beauty, though I’ve also seen it on sale for $65, so keep an eye out).
Starting with clean, dry hair, it took me two hours start to finish. Half the time of a salon treatment, with nearly the same results. Here’s what the process involved and how my hair looks before and after the ANSWR keratin treatment.
Before keratin treatment
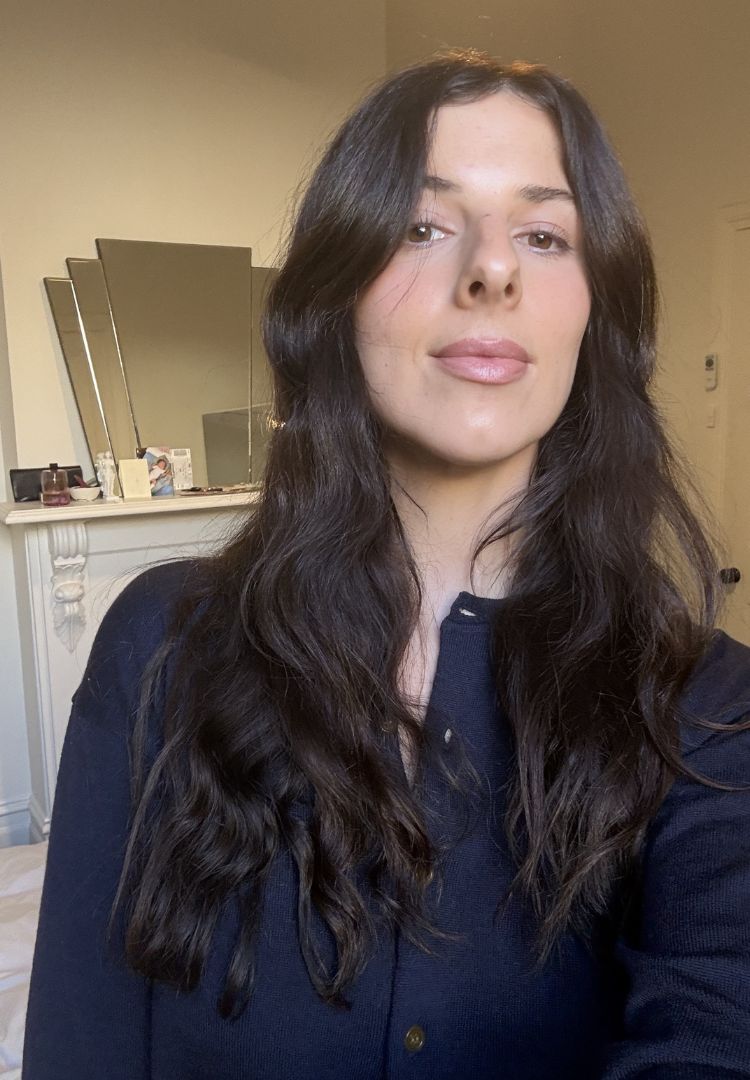
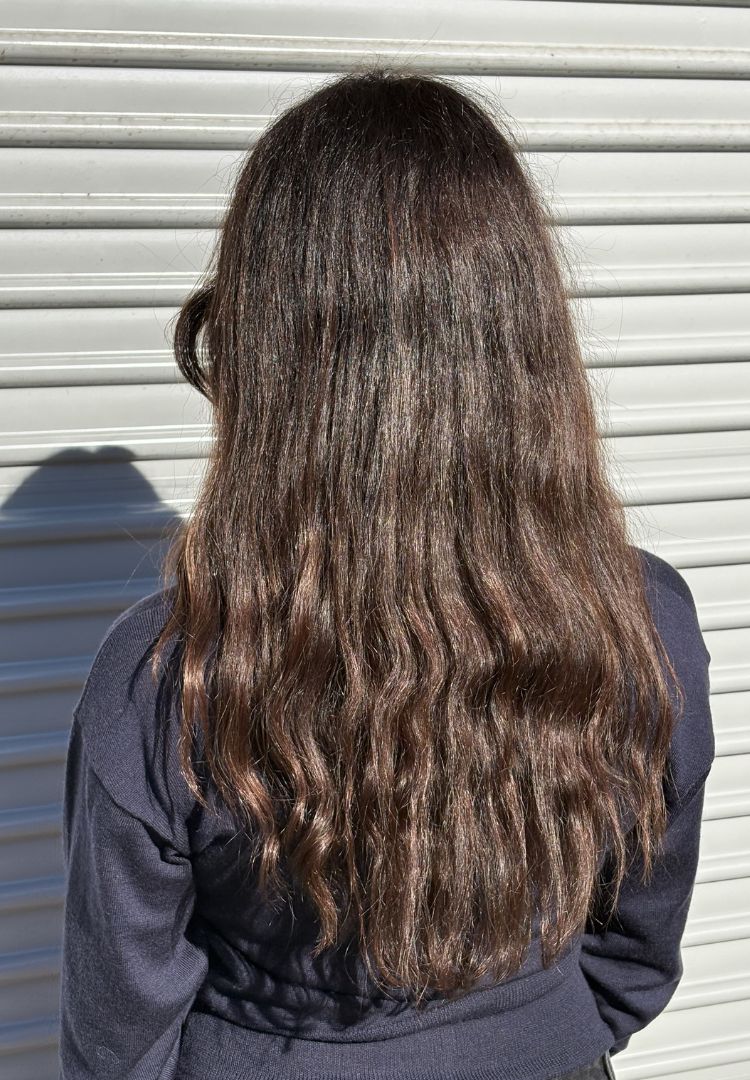
This is my natural hair after being washed and roughly blowdried, then slept on. I haven’t run a brush through it or used any product. As you can see, there’s a slight wave and a lot of frizz.
How to do a keratin treatment at home
What you need
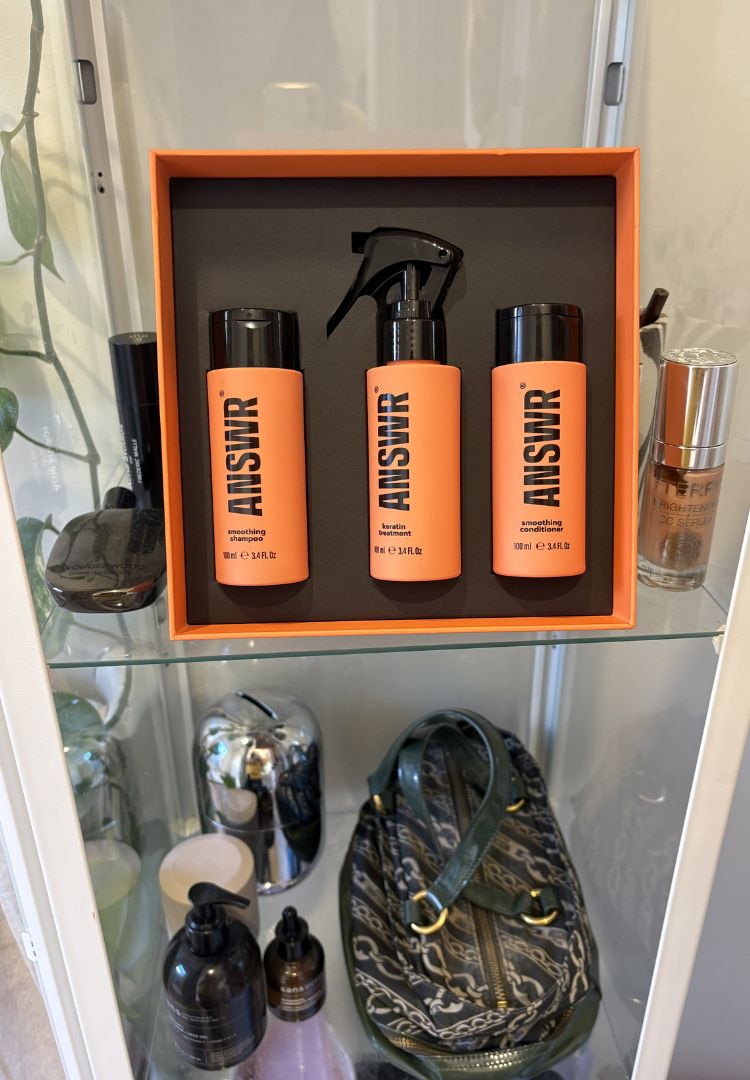
Inside the ANSWR kit, you get a 100ml spray bottle of the keratin treatment, a smoothing shampoo and a conditioner. It’s not necessary to use this shampoo and conditioner; you can just buy the keratin spray on its own. The main thing is to use a sulphate-free shampoo after doing the treatment.
You’ll also need a wide-tooth comb, a towel and some hair clips for sectioning. Importantly, you need a hairdryer and hair straightener (I used my Dyson Supersonic and a ghd Chronos).
The instructions in the box are straightforward. You’ll be drenching your hair with the keratin spray, leaving it for up to one hour, then rinsing it out. Then you’ll blowdry your hair and straighten it thoroughly. Once fully straightened, you can’t wet your hair for 24 hours.
Step one: Drench your hair in the keratin treatment
I started with clean, dry hair free of any product. After combing through any knots, I sectioned it with clips and started applying the keratin spray from the bottom section, spritzing my hair so it was drenched root to tip. Keep going until all your hair is fully wet, then comb through.
It’s a good idea to put a towel down on the bathroom floor, otherwise the spray will go everywhere. At one point, I was nervous that the spray would run out, but I used exactly one 100ml bottle to saturate my long, thick hair. Also, happy to report there is no strong chemical smell at all!
Step two: Relax
Now you let it do its thing. The kit recommends leaving the treatment on for 45 to 60 minutes, depending on how thick and curly your hair is. I left it on for 50 minutes while I answered emails on my laptop. You must leave your wet hair out during this time – don’t clip it or tie it up, as this can cause dents and disrupt the process.
Step three: Rinse and dry
After 50 minutes, I jumped in the shower and rinsed the treatment out thoroughly using only water. Then I squeezed out excess moisture with a towel and blowdried my hair roughly, section by section, until it was completely dry. Don’t use any products during this stage.
Step four: Straighten
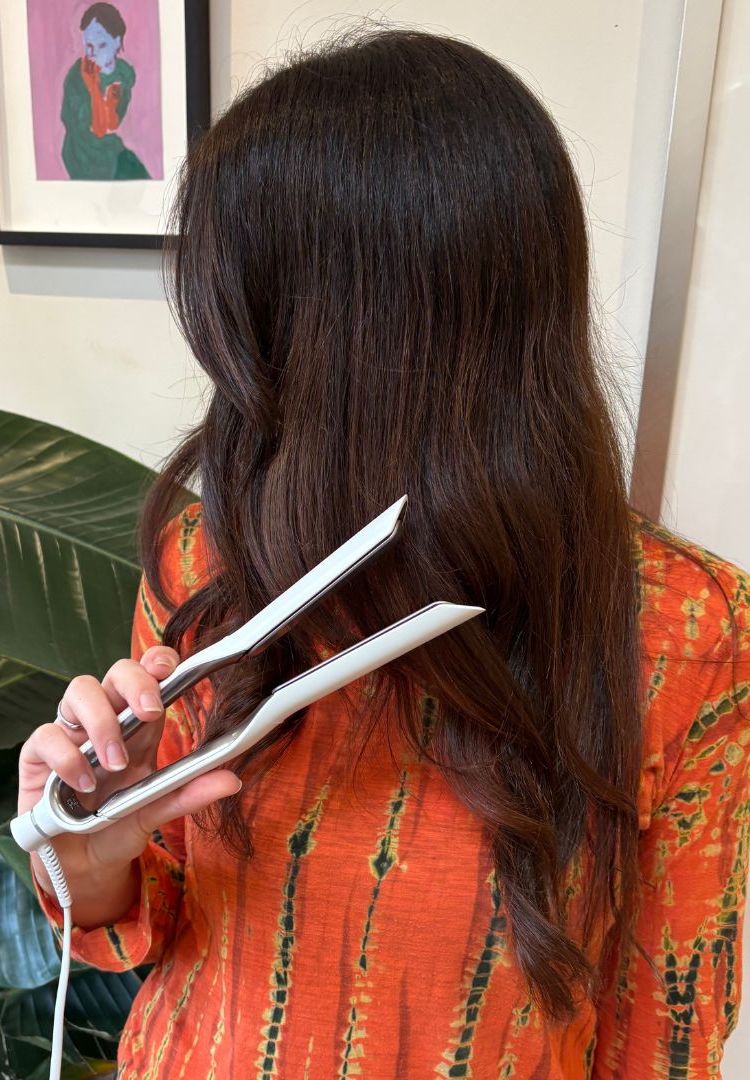
It’s time to straighten your hair like it’s 2005. With a comb and clips, I took small sections of my hair (two cm-wide) and ran my ghd over about six times to straighten it thoroughly. This is a crucial step as it locks in the keratin, so don’t rush it. Once my hair was fully straightened, I noticed it looked exactly as glassy and smooth as it would at this stage in the salon. Enjoy the mirror shine for 24 hours and importantly, don’t get your hair wet.
Results after keratin treatment
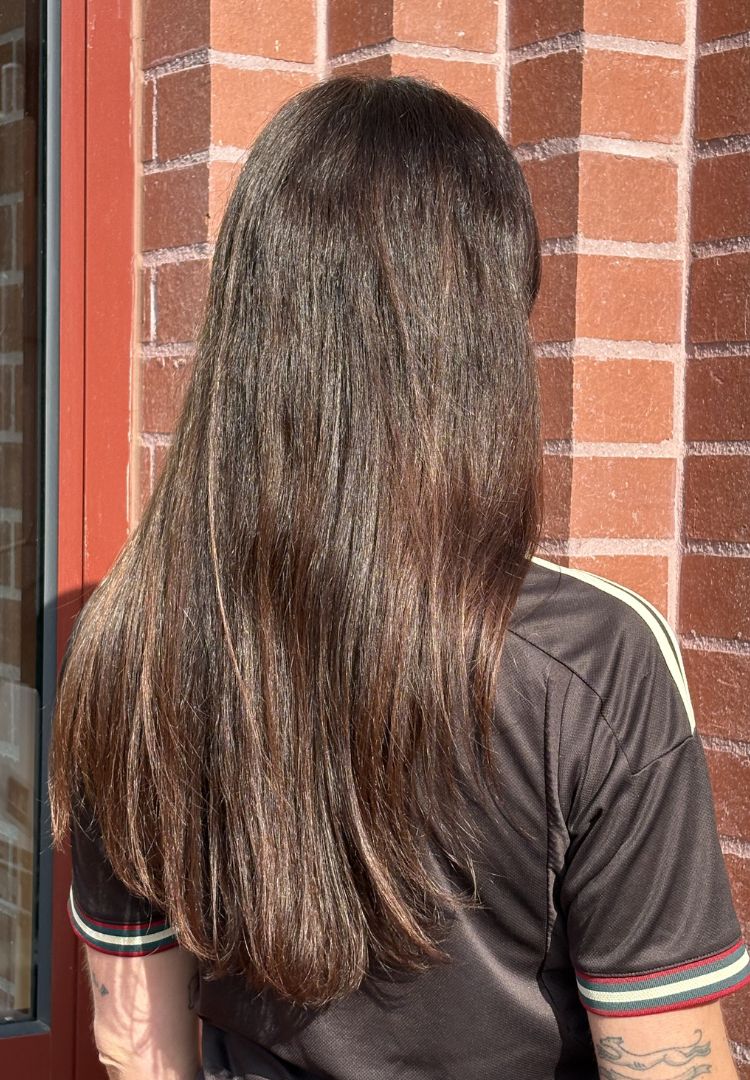
For an accurate before-and-after, I washed my hair after 24 hours using the ANSWR shampoo and conditioner, then roughly blowdried it with no brush or product, same as the before photo. As you can see, my hair looks noticeably straighter, smoother and less frizzy. My natural hair never looks this smooth after a rough blowdry, and this only took 15 minutes.
Results after keratin using heat styling
Because heat reactivates the keratin, you’ll see best results if you blowdry your hair after every wash. Or, do what I do and let your hair air-dry before using a heat tool to style it. I notice my hair dries much faster after a keratin treatment and once it’s been styled, it stays looking smooth for longer. It’s particularly good for fighting frizz on humid days or during the frosty winter we’ve been having lately.
This is what my hair looks like after I’ve styled it with a Dyson Airwrap:
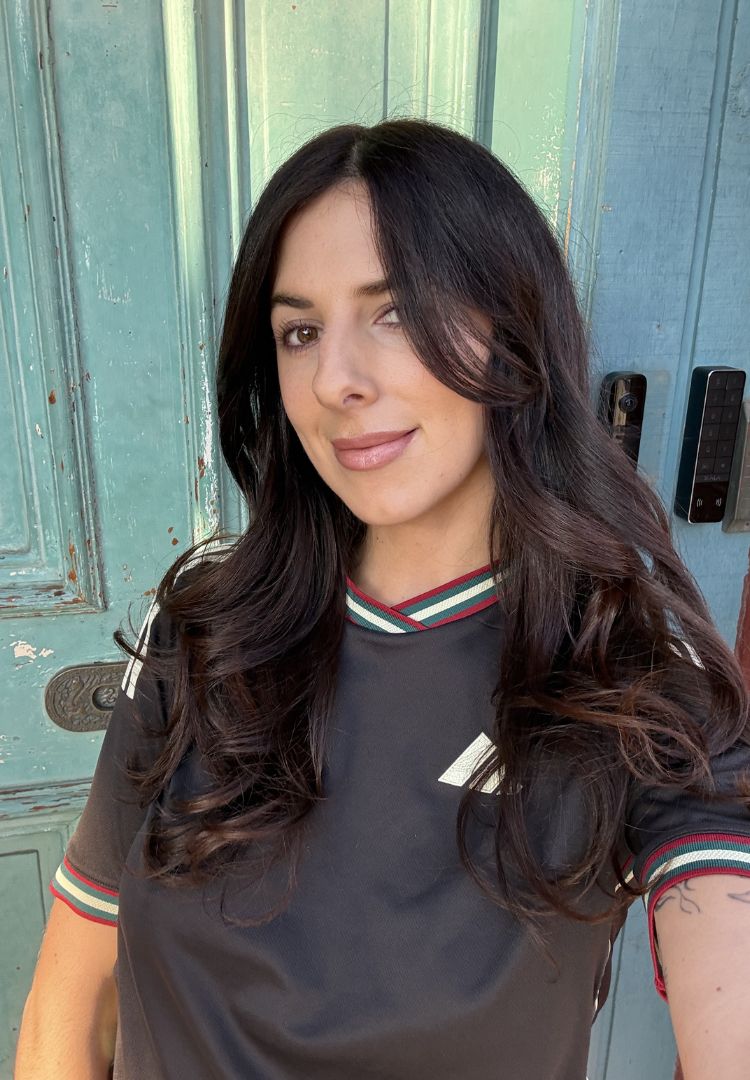
According to the box, the ANSWR At Home Keratin Treatment promises results that last up to two months. While I can’t speak to the long-term results, my hair now is behaving exactly as it would after a $400 salon keratin treatment, which is a massive win.
For more information on keratin treatments, try this.
Liked this? You’ll love these...