


A skincare expert on how to properly clean your makeup brushes
IMAGE VIA @itsall.fluff/INSTAGRAM
WORDS BY AUDREY DENIER
Get scrubbin’.
There are two kinds of people in this world: those who clean their makeup brushes and those who know better but prefer to idly stand by as their brushes gather dust, oil and makeup buildup. If we’re being honest, I’m the latter.
This year we’ve learnt how important it is to invest in good skincare – we know to wash our faces twice a day, protect our skin with sunscreen and moisturise in the winter. But I have some bad news, my friends. This routine is almost entirely redundant if we don’t clean our makeup brushes. Dermatologists have proven that manky tools can harbour bacteria, which often creates more breakouts, congestion and irritation.
Looking for more skincare advice? Head over to our Beauty section.
Alarmed by this information, I spoke with doctor and skincare expert Dr Deborah Lee on how often we should clean our makeup brushes, blenders and sponges. For us laypeople, she even broke down the exact brush cleansing routine we should be following.
How often should we be cleaning our beauty tools?
Remember that gross build-up of bacteria we just talked about? That doesn’t disappear on its own; all tools used on your face require a thorough cleansing.
“Makeup brushes used with dry powders should be washed one to two times per week. Liquid foundation is an even worse culprit, and they recommend washing brushes every day. Makeup sponges should also be washed every day,” Dr Lee says.
If lathering your brushes weekly sounds too gruelling, Dr Lee reminds us that it’s either the former or a lifetime of skin issues.
“Stiff bristles can cause tiny micro-abrasions in the skin, allowing bacteria to get into the deeper layers of the skin. Trauma to the skin increases inflammation with increased levels of oxidative stress. This is harmful to good skin health.
“Makeup brushes are cited as a possible reservoir of infection for the dangerous, contagious, superbug – methicillin-resistant staphylococcus (MRSA). This bacterium is a cause of a wide range of skin conditions, as well as systemic illnesses. It can result in erysipelas, cellulitis, impetigo, folliculitis and skin carbuncles,” she explains.
Frequent cleansings don’t just save your skin, but they can also make for a smoother and more flawless application. And what’s the point of splurging on high-quality makeup brushes if you’re not getting your money’s worth?
“If you don’t wash your makeup brushes, they gradually get clogged up with dead skin cells, dried clumps of makeup, dirt and grime. This makes applying foundation smoothly impossible. You end up trying to plaster it on more thickly, which is expensive and nonsensical,” says Dr Lee.
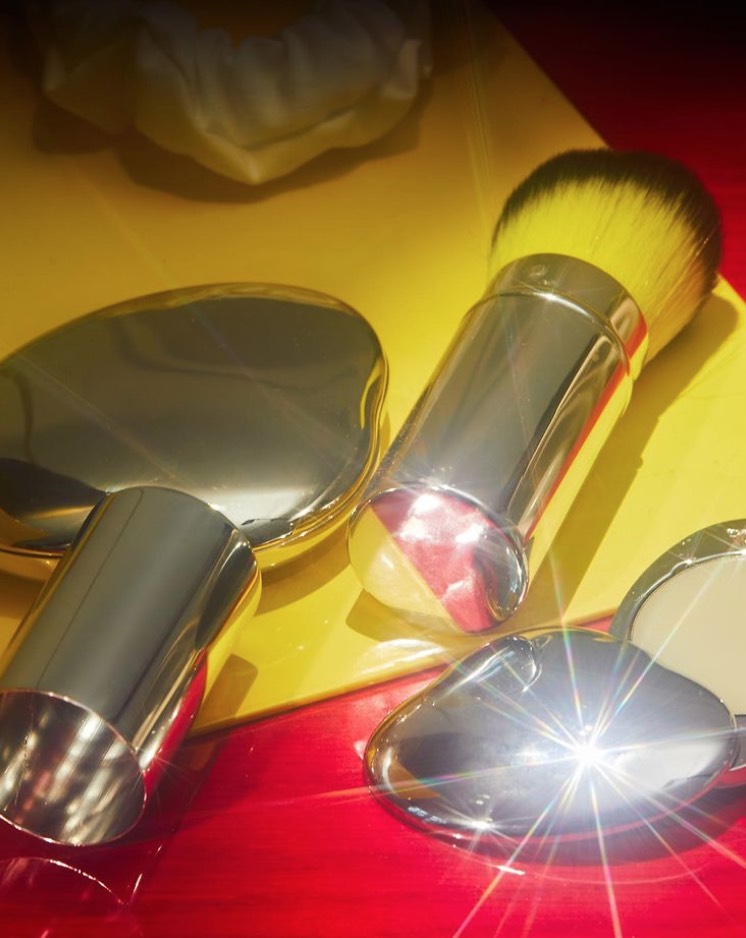
How often should we replace our makeup brushes?
If you look after your beauty utensils properly, they can last years! But when the bristles start to fall out, or your sponge begins to eat itself, it’s time to say goodbye. Dr Lee advises on which makeup brushes provide longevity.
“Always purchase good quality brushes. These should feel soft in the palm of your hand, not dry and bristly. Check you can’t see any bristles falling out of them, as this indicates low quality.
“Natural bristles are superior; they tend to hold the colour pigments better than synthetic ones. However, these are derived from animal sources, which, depending on how they are produced, may not be popular with animal lovers. If you want a good makeup finish, the quality of your makeup brushes is essential.”
Break it down for us
Luckily for you, I’ve discovered that good-as-new makeup brushes are just five steps away:
- Choose an appropriate sterilising makeup brush cleanser.
- Run the brush under the tap to wet it using lukewarm water. Take care not to let the handle end of the brush where the bristles attach get wet, as this will damage the glue and encourage the bristles to drop out. Focus on cleaning the end of the brush.
- Add some cleanser to the brush and swirl this around, pressing the bristles into your palm with a circular motion and getting a good lather. You can use a brush cleaning mat for this if you prefer. Rewash the bristles under the tap to get rid of all the suds and grime.
- Squeeze the bristles downwards between your finger and thumb to get rid of the excess water.
- Lay the damp brush on a kitchen towel overnight to dry.
So, if you’re unsure how to navigate cleaning your brushes, these tips should get you started. It’s time to throw out those musty brushes you’ve been harbouring since 2009 and get scrubbin’.
To learn more about the impacts of dirty makeup brushes on your skin, head here.
Liked this? You’ll love these...