


Here’s how to make your Dyson Airwrap curls last
WORDS BY ALYSSA FORATO
Here’s to long-lasting, luscious blowouts.
For months on end, I desperately wanted the Dyson Airwrap. My TikTok For You Page was filled with tutorials on how to achieve the perfect curl using the styling tool. I’d analyse each video from start to end, despite not owning one of my own. I spent every day wishing my part-time job paid more so I could afford the spenny Airwrap price tag.
I had a cheaper alternative, which was a blowout brush I loved. But it just wasn’t the same. No matter how I used it – with rollers, pins or fresh out of the shower – it never lasted or looked quite as good as the girlies I saw on social media. Then I finally got my hands on the Dyson Airwrap.
We like nosy people. Don’t be shy, head to our Beauty section for more.
I saved my pennies for months, slowly building up to the big purchase. When Dyson was having a Boxing Day sale, I leapt at the chance to get my dream styling tool for a cheaper price. And after some delivery dilemmas, it was finally mine.
Using the Airwrap for the first few times wasn’t easy. When people say there’s a learning curve, they aren’t lying. When I curled my hair for the first time with the Dyson, I returned home after dinner with a frizzy, slightly wavy mess. My mum saw my forlorn face and asked me if the purchase was worth it. My response was a bleak “I sure hope so.”
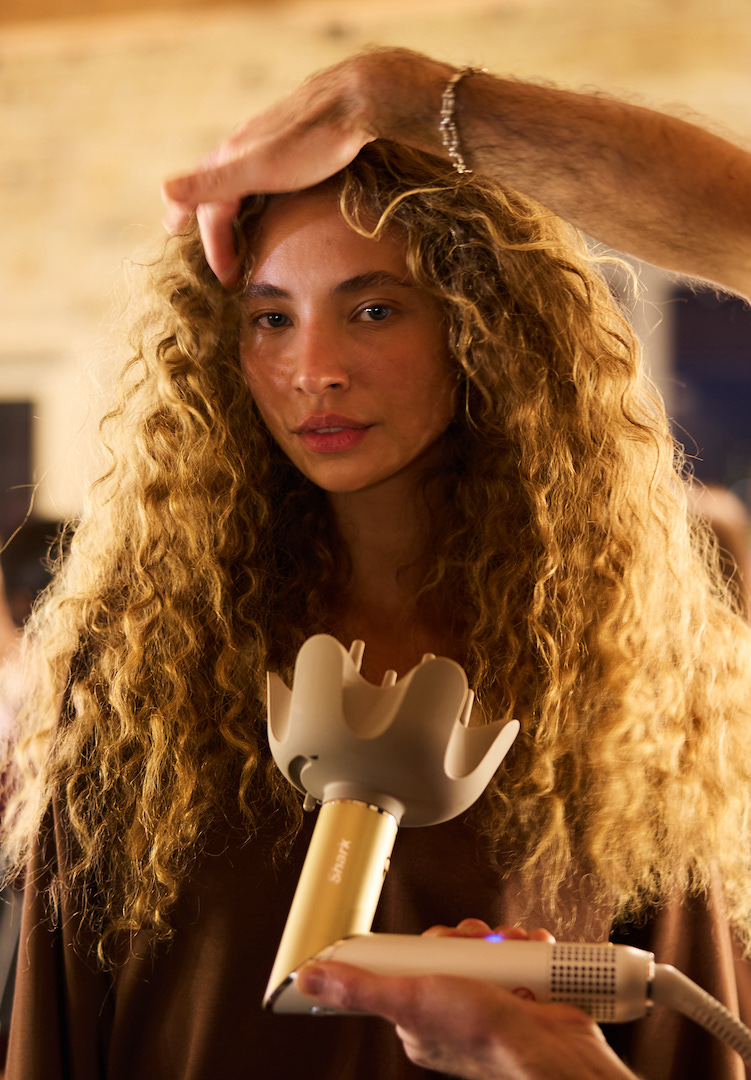
Since first using my Dyson Airwrap a couple of months ago, I think it’s pretty safe to say I’ve mastered the styling tool. After dedicating my TikTok favourites to Dyson Airwrap tips and religiously watching Yana Udaltsova videos, I’ve extended the life of my blowout to a solid three to four days, up until I need to wash my hair again. So, if you own a Dyson Airwrap and are in dire need of some tips (or you’re contemplating getting one), this is for you. Here are my best tips for increasing the longevity of your curls.
Prep is key
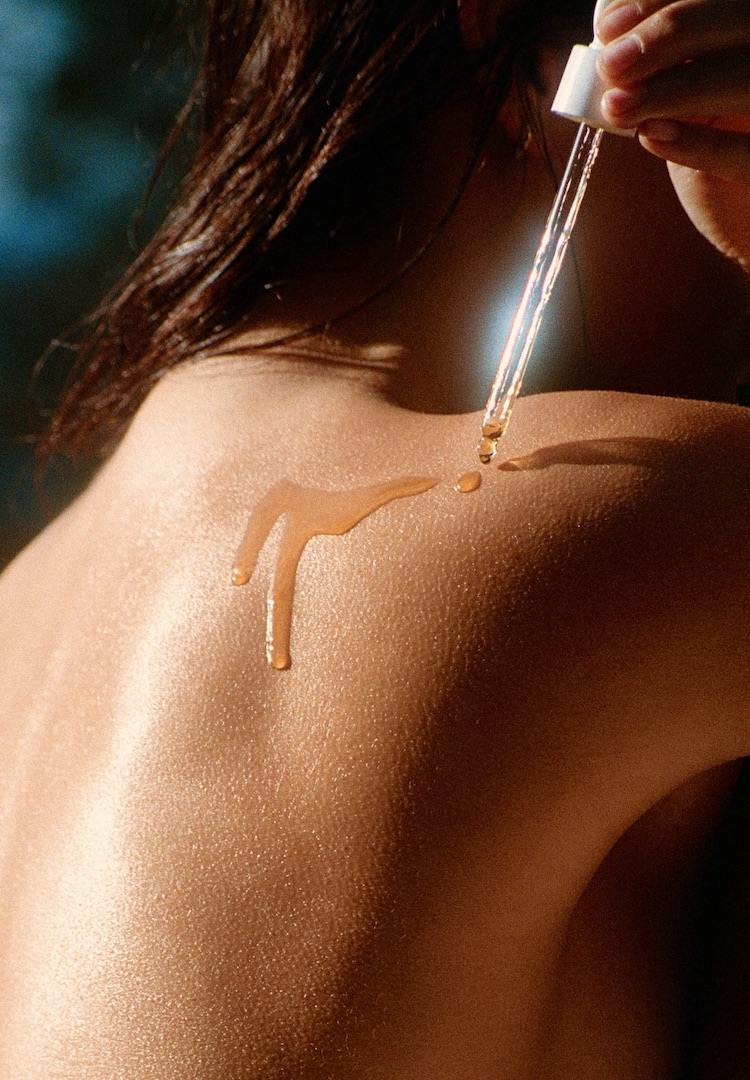
One argument Airwrap-haters like to use is that for a heat-styling tool so expensive, you shouldn’t have to put in any extra effort. And I totally get where they’re coming from. But when using any heat-styling tool, you need to prep your hair to achieve the best results possible. The Dyson Airwrap also uses far less heat than other styling tools, measuring airflow temperatures at over 40 times per second to ensure its temperature remains under 150 degrees. Since it’s less heat (meaning less damage, yay!), it’s best to give your hair some styling prep before going ahead with the curls.
I start off by spritzing leave-in conditioning spray and heat protectant all over my hair, making sure it’s nice and covered. After drying my hair about 80 per cent of the way, I’ll go ahead and smooth it out with one of the heated styling brushes. Whether you use the straight brush or round brush is up to you; I’ve used both and there doesn’t seem to be much of a difference. My hair usually looks like Hagrid at this stage, which is fine. It just needs to be smooth. We’re about to go in and curl it anyway.
After your hair is smoothed out, brush some flexible-hold curling mousse through your hair, focusing on the mid-lengths to ends. This step is essential when it comes to making your curls last as long as possible. Without it, I notice my curls drop far more quickly – it’ll be a matter of hours instead of days.
Don’t brush the curls out straight away
After you’ve curled your hair and doused it in hairspray, the number one rule is not to brush out your curls. Although the Dyson Airwrap has the ‘cool shot’ function, your hair still benefits from time to properly set in its ringlets. So, leave your locks in their George Washington-like state while you go ahead and finish getting ready. Once it’s been a minimum of 10 to 15 minutes (although the longer, the better), shake out the curls (don’t brush them) and you’re ready for the long night ahead. Those curls won’t budge.
Use rollers or pins
One issue I’ve run into with using the bigger curling barrel on the Dyson Airwrap is that after a few hours, my curls drop into waves. Sure, it still looks great, but big bouncy curls are most often what I’m going for.
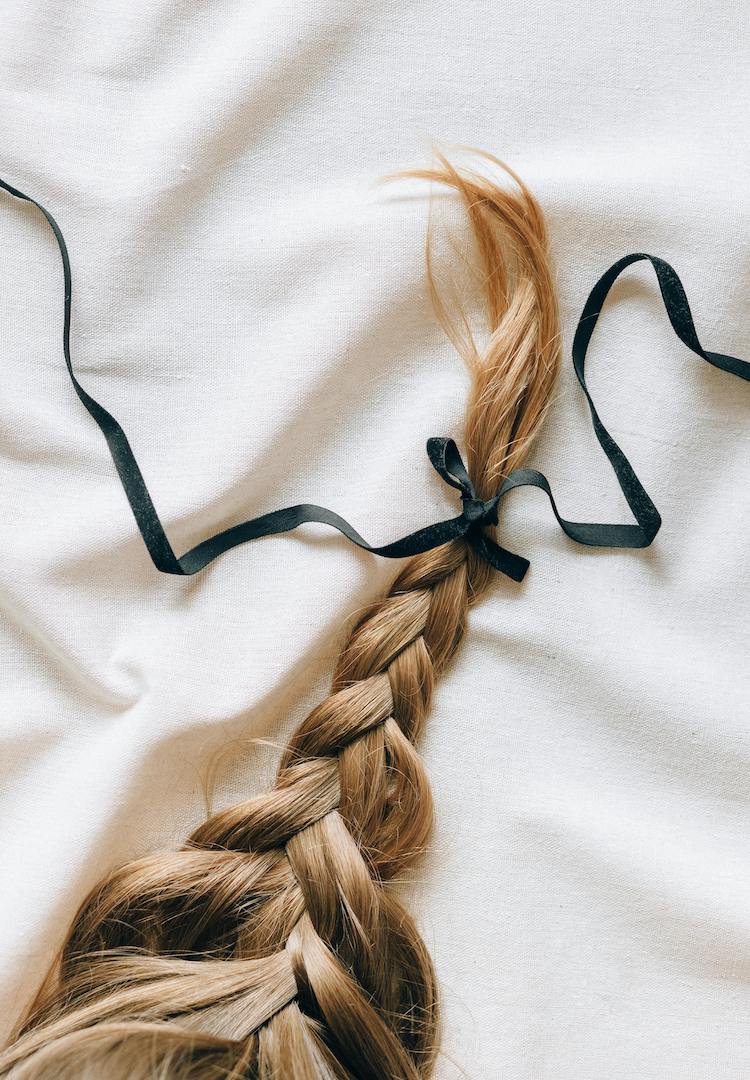
To combat this, I’ve found using rollers or pinning the curls while they cool down works a treat. I’ll roll each curl up and allow them to sit for as long as possible while I do my makeup. This is the recipe for major bounce and volume – you’ll be giving Matilda Djerf some serious competition.
The exact same process goes for pinning the curls. After curling each piece, get a bobby pin or styling clip and pin the curl to your scalp instead of allowing it to drop, and let your hair cool in the pins. Clipping your curls still gives that volume and bouncy curl, but is a little tamer than the drama rollers provide.
After months of trials and tribulations with my Dyson Airwrap, anxiously questioning if I had thrown my money out the window, I’ve finally mastered the styling tool. Hopefully, these techniques can help you – whether you’ve recently bought an Airwrap and are grappling with the learning curve, or simply are after some new tips. But everyone’s hair is different, and what’s worked for me may not do the same for your hair. Stick to it, and you’ll achieve your dream Djerf-esque blowout in no time.
This article was originally published on March 27, 2023.
To deep dive into more Dyson Airwrap tips, head here.
Liked this? You’ll love these...