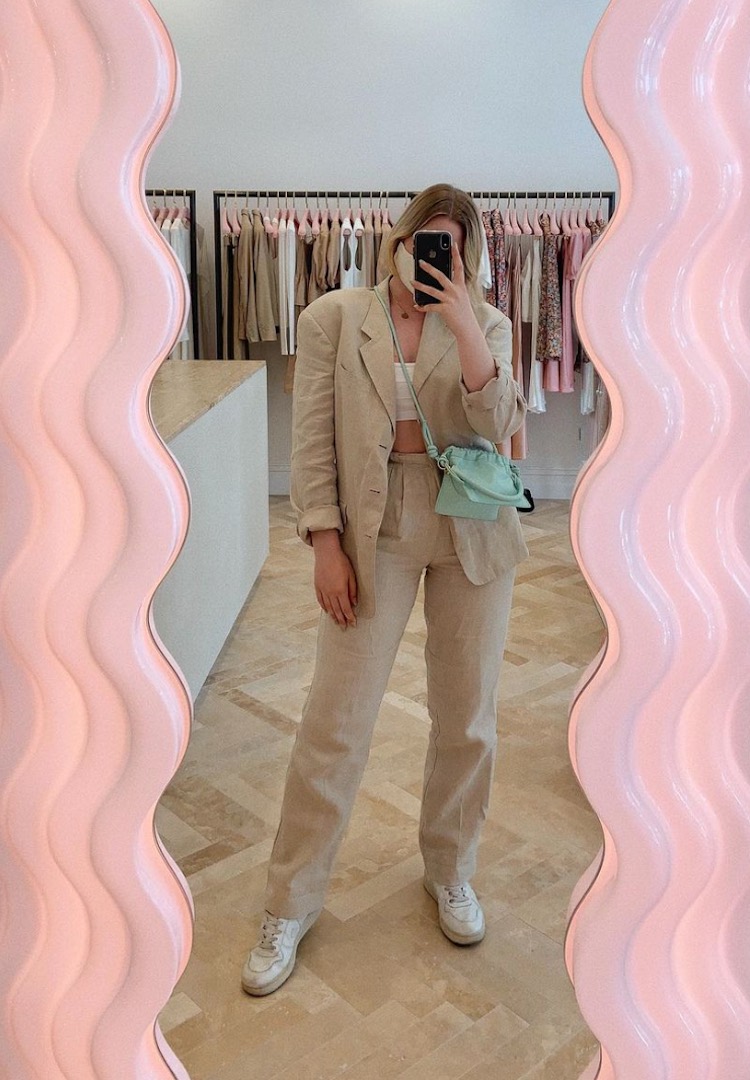


A viral Melbourne TikTok creator shares her best DIY interiors hacks
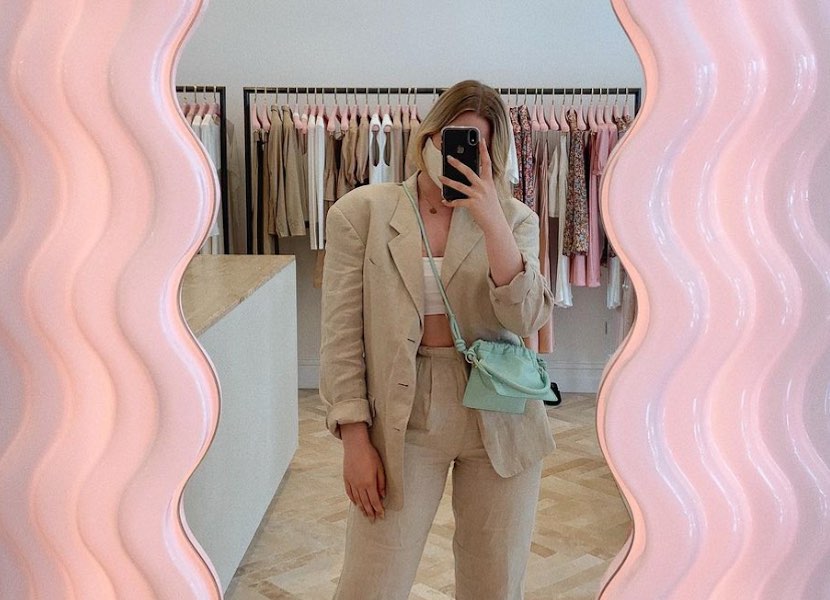
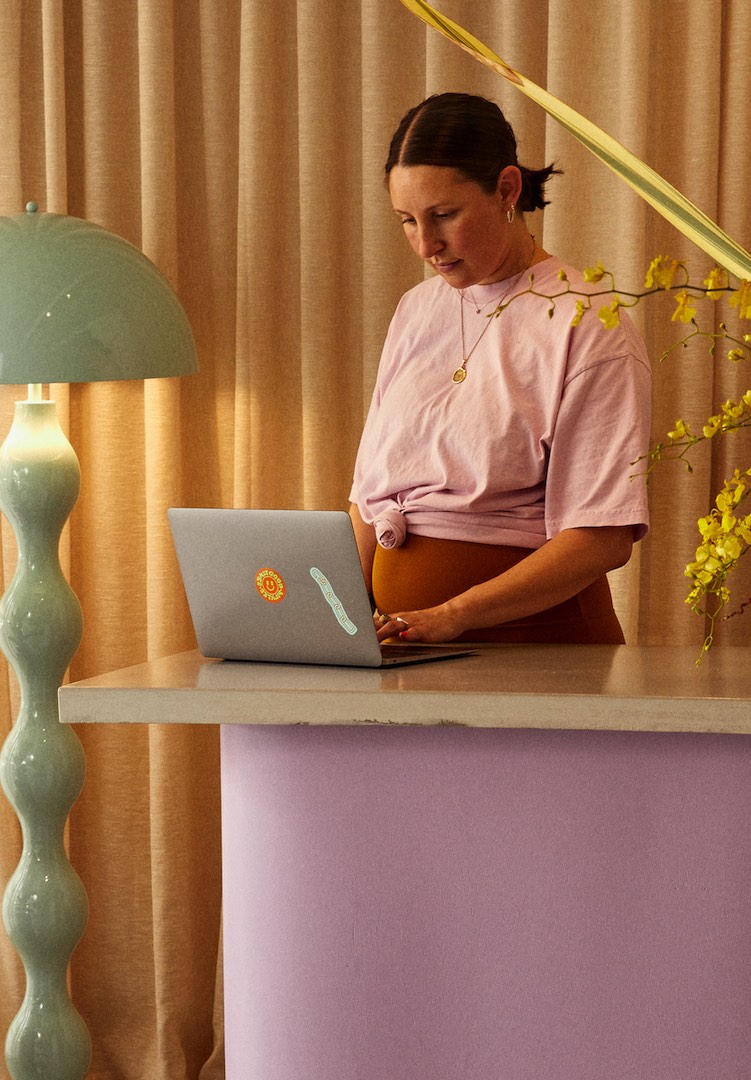
IMAGE VIA @s.imonette/INSTAGRAM
WORDS BY Genevieve Phelan and Simonette Boekel
Scandi-proof your home without compromising your savings.
If you’re an avid TikTok consumer who has a thing for nice homewares and lives in Australia, chances are you might’ve come across Simonette Boekel’s savvy shortcuts to chic interiors.
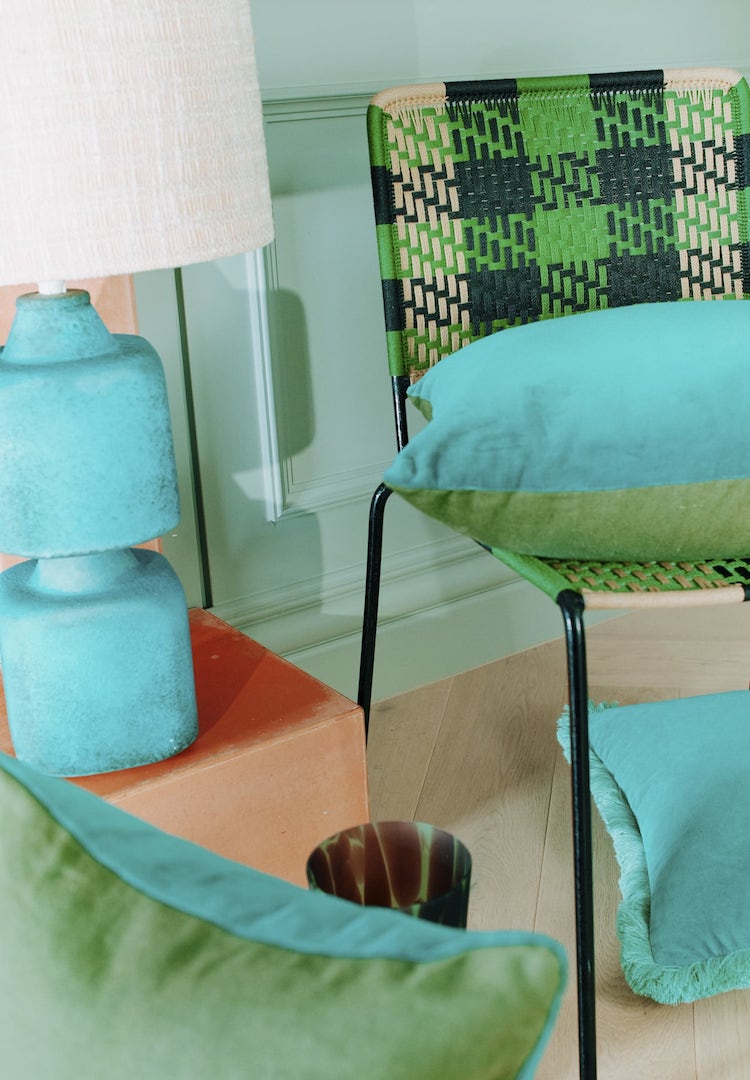
The hacks are incredibly impressive and cheap as chippies, ranging from DIY bedside accoutrements to deceptively-artsy wall adornments. And Sim’s ranked some viral viewing stats – think 12 million-plus for vignettes of a couch conversion. That’s hot.
For more interior inspiration, check out our Life vertical.
I’d never thought to updo a dilapidated sofa from Facebook Marketplace into a bouclé masterpiece until now. And Ikea fruit bowls into mushroom standing lamps. It’s all very awe-inducing stuff that makes you slightly jealous of such creative genius.
@s.imonette DIYing my way to my dream home ✨ #upcycle #furnitureflip ♬ Something about you – Jade 🕸
After spending a year out of home and spending stupid amounts of money on silly (probably way overpriced) things, I can truly appreciate Sim’s sorcery. This TikTok account is a goldmine for cute sharehouse interiors on a budget, so I naturally had to ask for the detailed how-tos.
Simonette has kindly shared her practical (but charmingly quirky) crafts with us via actionable, step-by-step hacks to replicate in your own humble abodes. Below are five tried and tested DIY projects to nail now, and have your housemates admire later.
Finally, we can all have a bespoke boujée floor lamp without haemorrhaging a few hundred bucks. Praise be to this imaginative human.
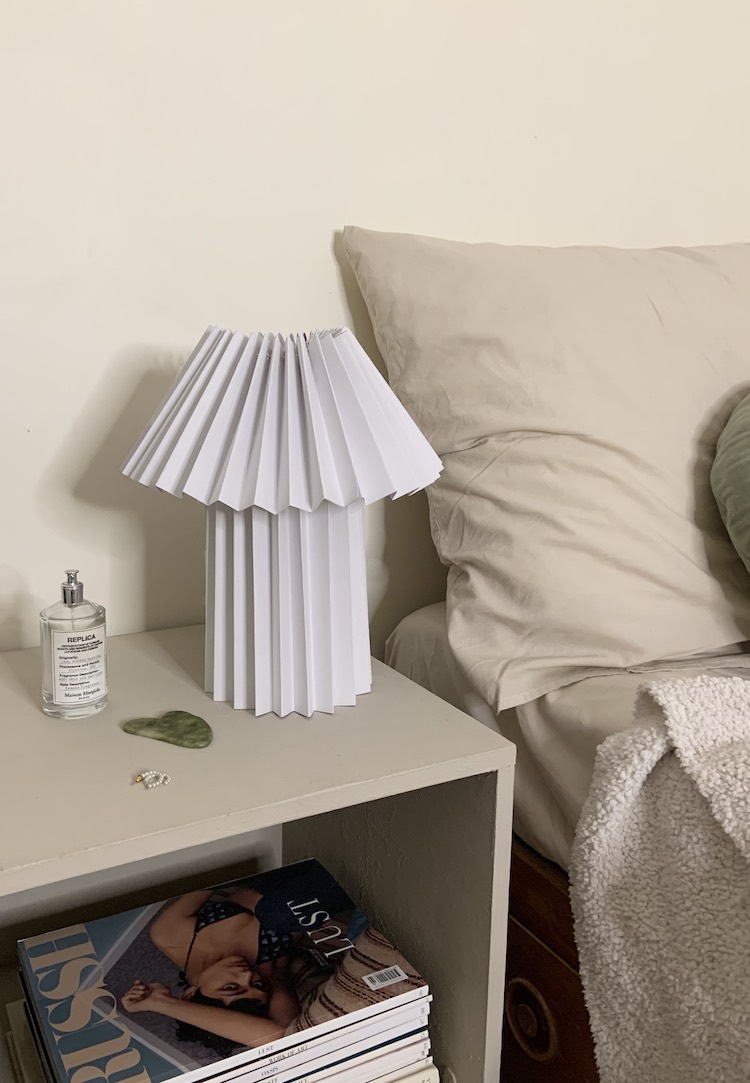
Hack #1: A pleated table lamp
What you’ll need
- Minimal lamp base
- Watercolour paper or card stock
- Hole punch
- String
- Glue stick
- LED globe
- Scissors
How to nail it
One: Start with a lamp base of some sort, this will ensure your lamp is functional. You could always place a battery-operated puck-light in the centre too if you are unable to access a lamp base similar to the one linked. I had this one for a few years but wanted to upcycle it into something new.
Two: I would recommend using a thicker paper for this DIY, something that will have structure to it (we don’t want a flimsy lamp) Watercolour paper is nice because it has some texture to it. You could choose any colour paper you like.
Three: Create a paper fan, folding back and forth until you reach the end of your paper. I used about two to three pieces of A3 paper for the base and one for the shade. Use a glue stick to secure the ends of your fans together, creating a ring that is big enough to slip over your lamp base.
Four: For the shade, I followed the same method but cut my fan evenly in half using some scissors. I then used the glue stick to create another, shorter tube.
Five: Hole punch the inside folds of your lampshade. Anywhere that the paper juts in, punch a hole. Ensure you keep all of your holes roughly the same distance from the top of your lamp.
Six: Cut a generous length of string and weave it through all of the holes you have created. Once done, pull the string to bring the top of the lampshade closer together, creating that classic lamp silhouette. Tie and trim the ends once you’ve achieved your desired shape.
Seven: Place the lampshade on top of the base. Because we’ve used a thick paper or card stock, you shouldn’t need to secure it using anything else.
Eight: Cut a slit at the back for your cord to go through.
Nine: Add an LED bulb. We want to use LED as it doesn’t get as hot as other light bulbs and we want our lamps to be safe.
Ten: Fin!
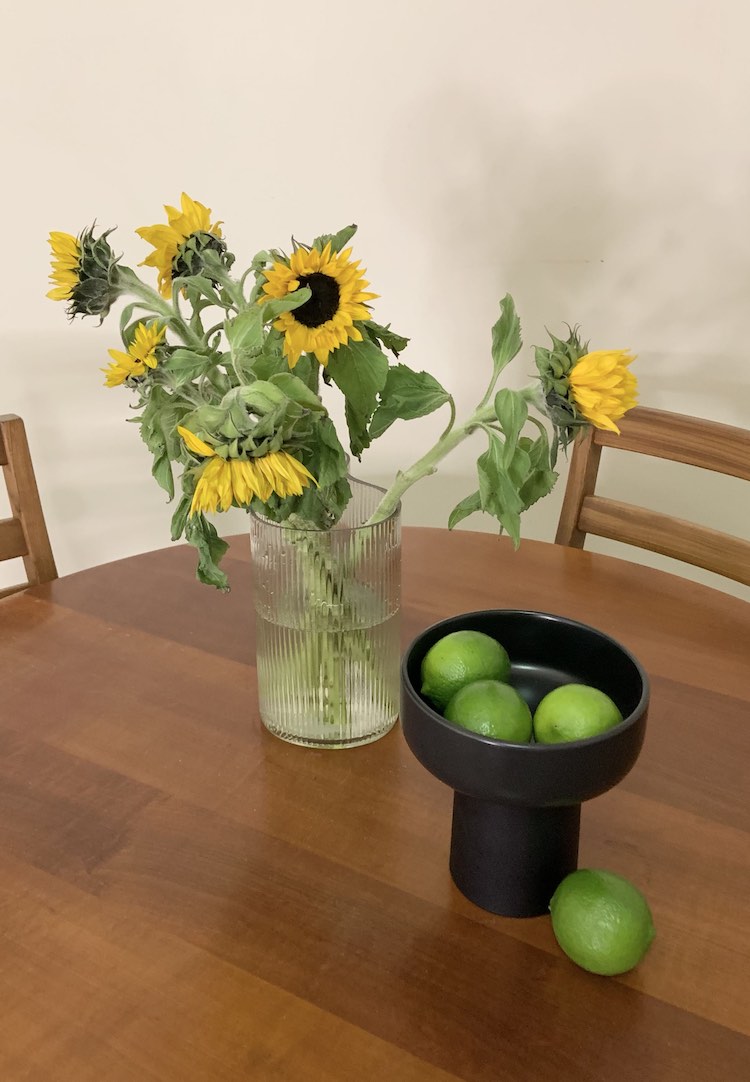
Hack #2: Pedestal bowl
What you’ll need
How to nail it
One: This is one of my favourite home hacks because it is SO easy and SO customisable for any space.
Two: I’m using a bowl I thrifted for $2 and an old container from a finished candle. They happened to fit perfectly together. You can always find inexpensive serving ware/ceramics secondhand or at places like Ikea or Kmart.
Three: All you have to do is glue the bottoms of these pieces together using your glue of choice. I just used hot glue, as I’m using it as more of a decor piece.
Four: Customise! I was lucky that my pieces somehow matched perfectly in colour and texture. But if yours don’t you can simply spray paint or use an acrylic paint and baking-soda mixture to create a faux ceramic finish on your bowl.
Five: There are so many different shapes and kinds of bowls you can make using this method. A quick Google or Pinterest search of ‘pedestal bowl’ will provide you with all the inspiration you could ever need.
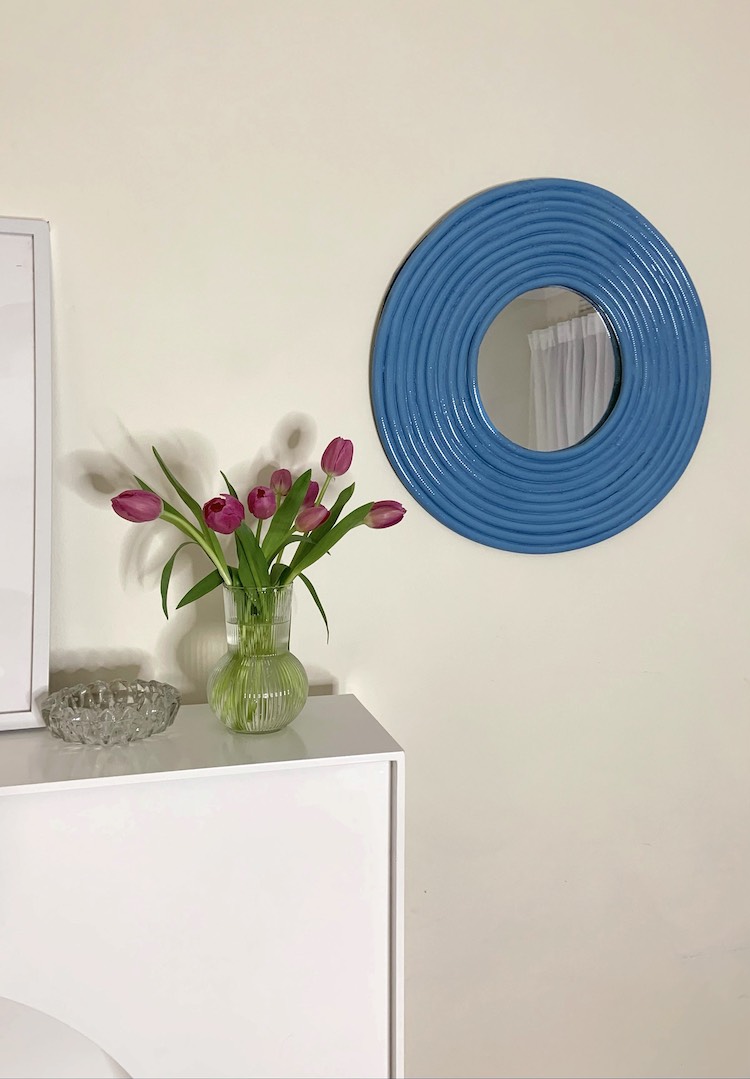
Hack #3: Groovy circle mirror
What you’ll need
- Small mirror, easier if it’s already a circle, but it could really be any shape
- Cardboard
- Garden hose
- Spray paint
- Masking tape
- Hot glue gun
How to nail it
One: I recently came across some beautiful sculptural mirrors by @zacharyfrankel_ which are so beautiful but just a little bit out of my budget, unfortunately.
Two: Start with a small mirror. I happened to have a small circle mirror laying around unused, which I believe I originally bought from Ikea, but you can also find them at $2 shops and op shops if you don’t have one already.
Three: I needed to find something round and bendy to achieve a ripple frame effect. I thought a $6.50 garden hose from Kmart would do the trick just fine.
Four: Remove the attachments on your hose and measure the lengths of it around your mirror. I then cut each section, securing the ends with a small amount of masking tape, before moving on to the next section. I ended up doing 10 rings around my small mirror.
Five: Trace your largest hose ring onto some scrap cardboard and cut it out. This will act as a base and give us something to stick our rings onto. You could always opt for a thin piece of plywood here instead, cut to size, if you want a more professional looking finish and have access to such tools.
Six: Measure and mark the centre of your cardboard circle and use your hot glue gun to secure the mirror to the cardboard.
Seven: Once secured, glue each ring you have created around the mirror and onto the cardboard backing. Ensure you have as little rogue hot glue as possible. Slow and steady!
Eight: Once everything is secure, tape off/cover the centre mirror and take your mirror to a well-ventilated area to be painted. Ensure the masking tape securing the edges is laying as flat as possible. If you want an even smoother finish you can use a combination of something like joint compound or grout and sandpaper to achieve a more seamless/smooth appearance before painting.
Nine: If you’re more the impatient type, like me, you can simply go ahead and spray paint your mirror in your desired colour. I chose a cute sky blue.
Ten: Allow to dry overnight and then secure onto the wall. Done!
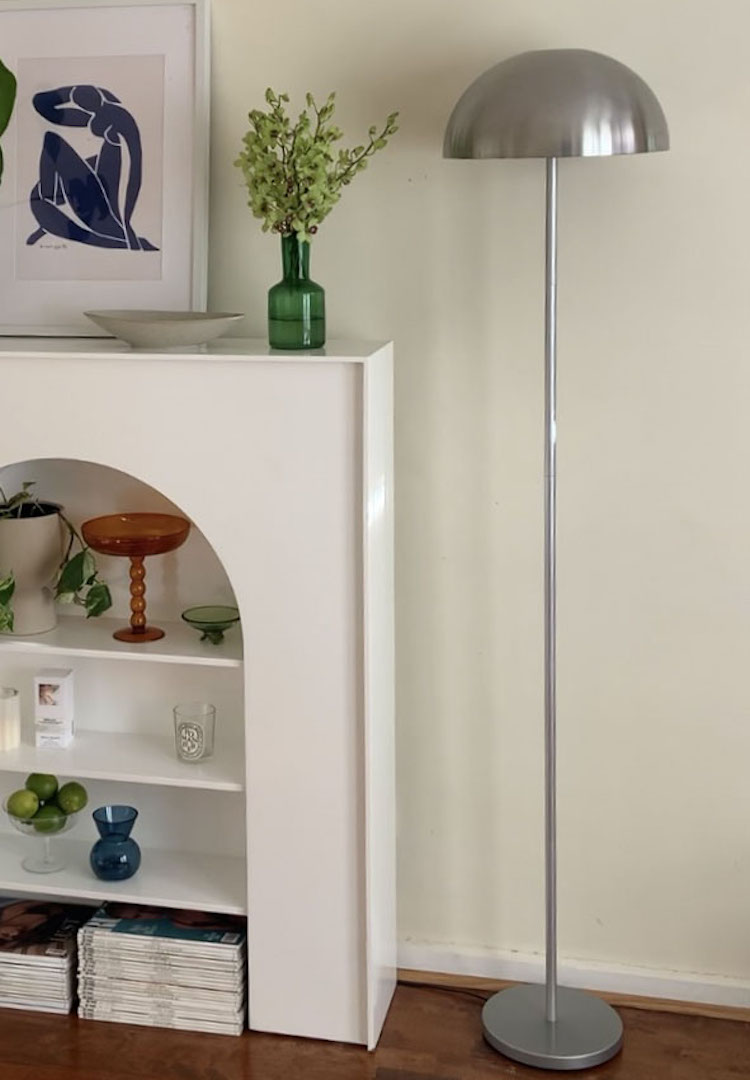
Hack #4: Mushroom floor lamp
What you’ll need
- Ikea Blanda Blank Salad Bowl
- Ikea Hektogram Floor Lamp
- Secondhand/inexpensive lampshade
- Hot glue
- LED globe
- Spray paint (optional)
How to nail it
One: Pick up a Blanda Blank serving bowl and Hektogram Floor Lamp from your local Ikea. I got the 36cm bowl, but if you want to make a table lamp instead you could always use one of the smaller ones.
Two: Source an inexpensive/secondhand lampshade and remove the shade from the metal framing.
Three: Assemble your floor lamp, leaving aside the plastic shade that comes with it.
Four: Hot glue the metal framing from the other lampshade to the inside of your Blanda serving bowl.
Five: If you want to spray paint your lamp, now is a good time to do so. I decided to leave mine silver, but it would look amazing in black or a nice pastel colour.
Six: Once the glue and/or paint are dry assemble as you would a regular lamp, applying your lampshade and then your LED globe inside. All done!
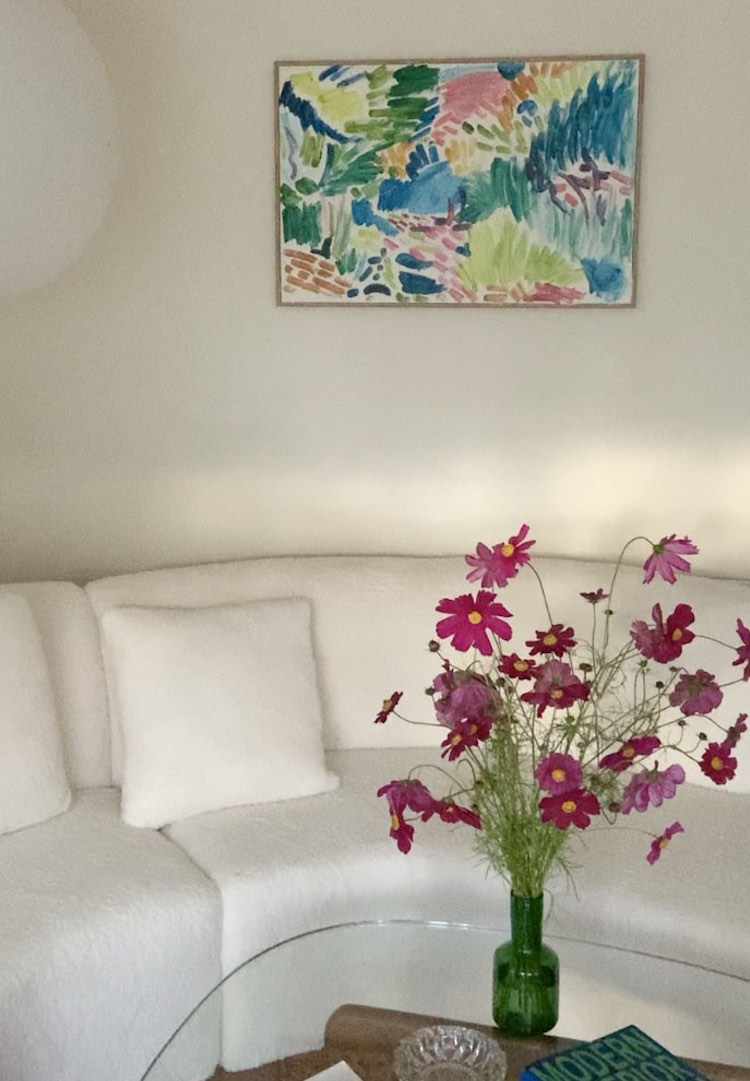
Hack #5: Inexpensive wall art
What you’ll need
How to nail it
One: This one is pretty self-explanatory. But if you’ve ever tried to buy wall art, you know how expensive prints, framing etc can get.
Two: My solution? Pick up a pre-framed canvas from Kmart – you can always find them for under $20. I picked up this lovely koala one which was on sale for $16.
Three: Decide what you want to paint. I wanted to create a Matisse landscape inspired painting, so I grabbed a set of acrylic paints while I was at Kmart so I knew I’d have every colour I could possibly need. But do some research on Pinterest or even on print websites to see if there’s anything you can recreate. If you’re into abstract art, there are so many beautiful pieces you can find online that would be so simple to recreate yourself.
Four: Tape off the frame – trust me, you’ll thank yourself later.
Five: Paint over the existing art. It took me about three coats to cover my koala friend.
Six: Paint your artwork or design, either freehand if you’re that way inclined, or using a reference image. It’s as simple as that, but an amazing way to create huge wall art for under $30.
You can keep up with Simonette and her DIY hacks here and here.
Liked this? You’ll love these...