


A broke girl’s guide to the at-home facial
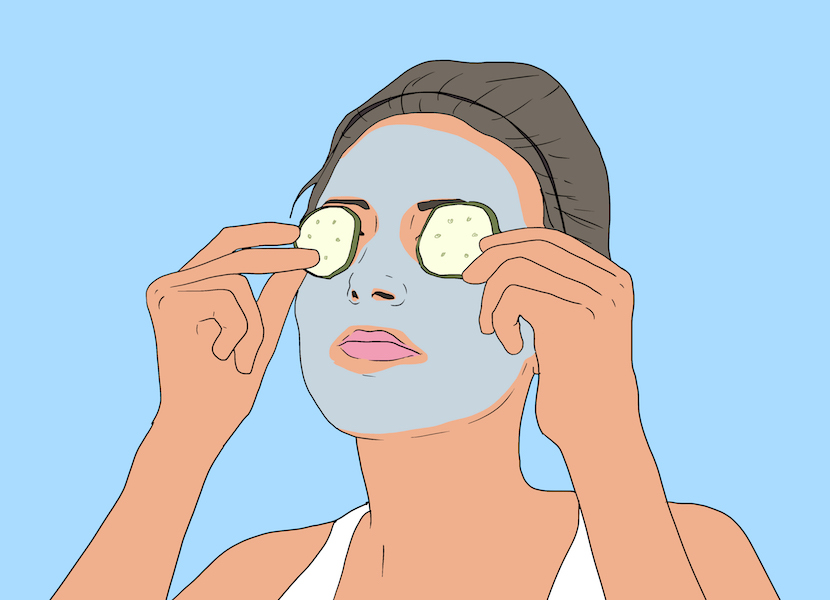
Illustration by TwylaMae
Words by Tabatha Turner
The best at-home facial no gold could buy.
I’m not sure about you, but I’m broke. Completely self-inflicted, my current financial status has resulted in hobbies like disregarding the topic and avoiding opening my bank account app at all costs.
As anyone with responsibilities but a lack of budgeting know-how knows, the only way to avoid a Google search of “how many kidneys can you live with safely” or “elite dog walking near me” is to calm down, turn on some Etta James, and give yourself the best at-home facial no gold could buy (literally). Yes, I may currently lack funds, but my face screams MONEY.
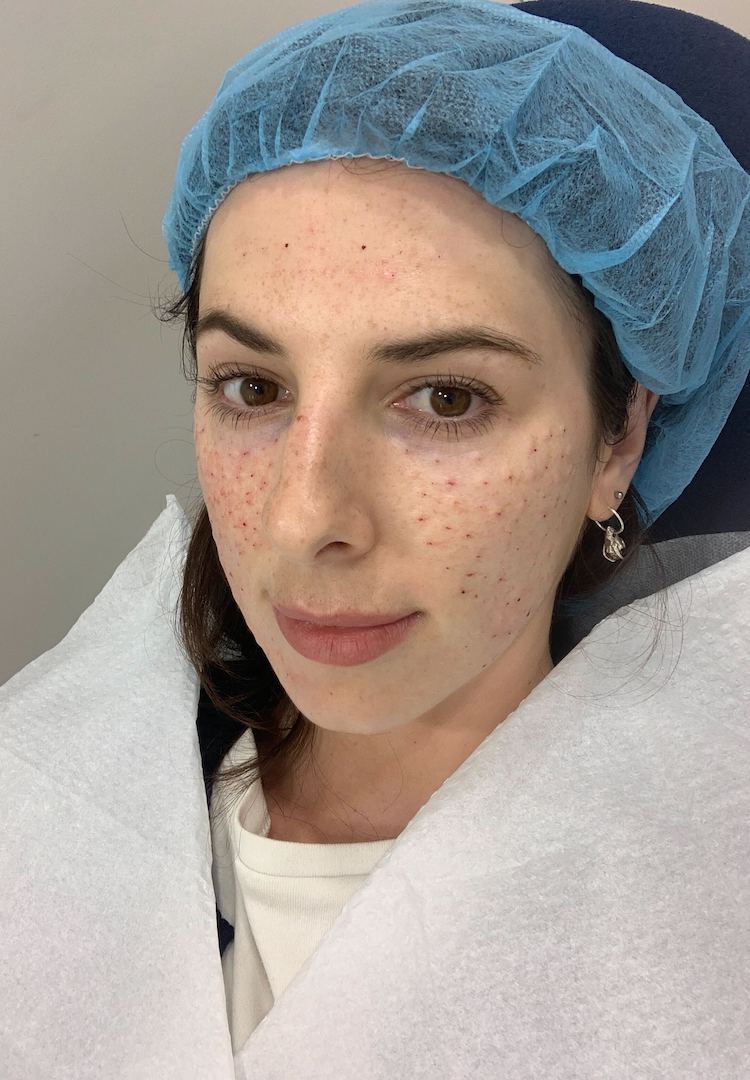
Step one: clean
Jump in the shower – not too hot – and wash the day away from your face. Hopefully, this is all the instruction you need to tick off this step.
Step two: exfoliate
Handle with care. Either mix up a combination of olive oil and castor sugar, or for a placebo attempt at feeling luxe, take home some sample packs of the latest and greatest exfoliators next time you’re buying that eyeshadow you “need”. Free stuff triggers feelings of winning, and you may as well capitalise on that when you can.
Step three: steam
Boil the kettle and change the track to something like this. Pour the boiling water to make a shallow pool in a big bowl (do this at the location of the operation to avoid burning your hands…you’ll need them later). Pimp the bowl with items including but not limited to: chamomile tea, rosemary sprigs, lavender flowers, mint, lemon, tea tree, essential oils or, if you’re like me, all of the above. Place a towel over your head and lean over the bowl. Breath in, breath out. While you’re at it, try meditating. Ten minutes.
Step four: cleanse
Using a non-foaming, non-aggressive facial cleanser, use your fingertips in circular motions to massage cleanser into the skin. Be gentle but thorough. Get into those pores. Wash with tepid water and pat dry with a CLEAN towel, or something like this.
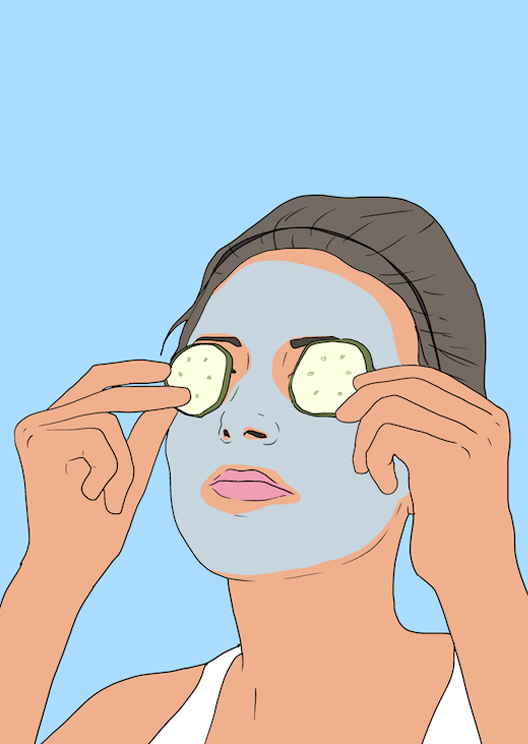
Step five: mask
It’s the at-home facial marathon, and you’re nearing the finish line. Dim the lights, it’s time to mask. Whether this be of the sheet variety, a clay mask, or even a full face of the Avocado you missed the window to eat (approximately 30 seconds between rock hard and brown mush), leave on for ten minutes. Wash off completely.
Step six: hydrate
This step is key and absolutely vital. Slap on (softly!) a moisturiser that is neutral, gentle, yet deeply hydrating, your skin has been prepped and primed to drink up as much as possible – think plump, juicy thoughts. I personally use MSM lotion which I get from here or the local organic grocery store. MSM is a supplement often used by people who suffer from arthritis for its connective tissue properties, otherwise it makes a very simple and cheap moisturiser. I lather it onto my limbs. This is a good time to make an actual tea (not a bowl full) and allow it to sink in fully. You’re almost there.
Step seven: roll
This step may seem unnecessary but I assure you it most definitely is not. Take a jade roller that lives in the fridge (vital note) and spend at least five minutes rolling the cool surface around the decolletage and face to reduce puffiness and aid lymphatic drainage. I like to work up from the collar bones and towards the forehead, paying particular attention to the area around the eyes. This is a great time whip out a small coin amount of the $$$ serum you bought and have never used, as the roller will double its magical results. Otherwise, some coconut oil will do.
Step eight: Spritz and snooze
You’ve made it! Five hours later! None the richer but most definitely the wiser (at least that’s what your glowing skin is saying to those blinded by its golden ray of togetherness). Slip a silk pillowcase onto your pillow (a worthwhile investment dually mimicking the outcomes of $20,000 face cream), spritz some lavender essential oil into the air and doze off. Job done. Now to get another job.
Liked this? You’ll love these...