


A step-by-step guide to upcycling your old jeans into shorts for summer
words by daisy henry and fletcher kiley
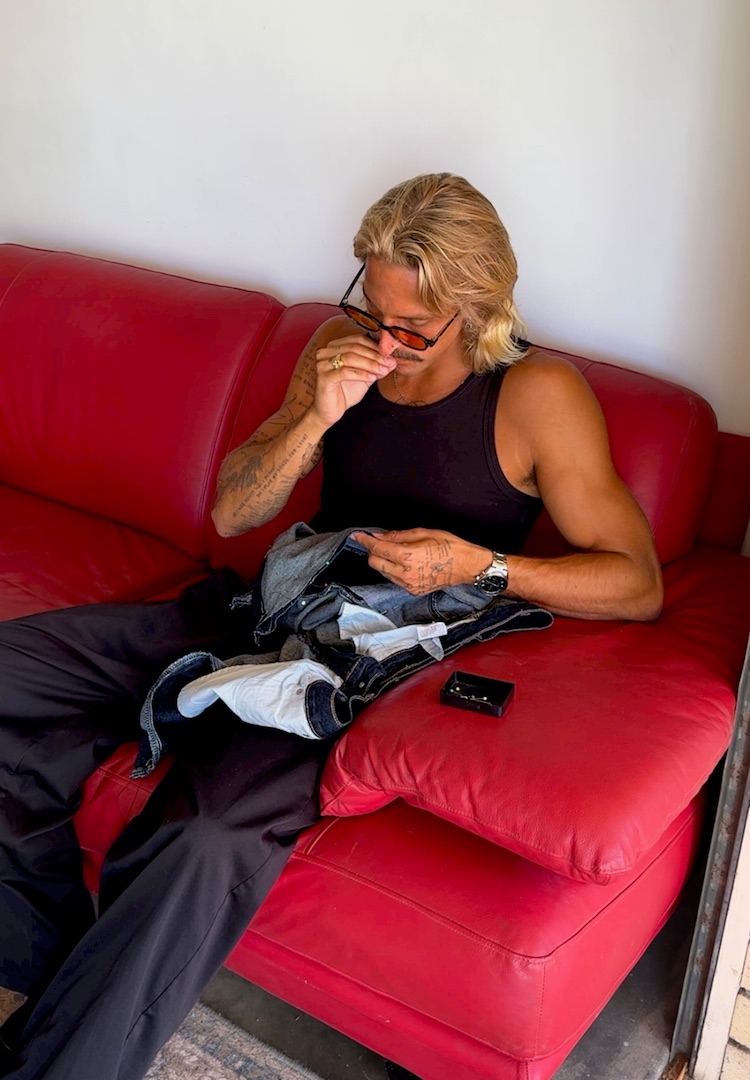
“Denim is forgiving.”
If there’s one person on my FYP right now who might actually convince me to take a pair of scissors and some thread to my jeans, it’s Fletcher Kiley. Having amassed a following of almost 20,000 people on TikTok, the Australian-based sewer’s feed is full of upcycled creations. Think panelled jeans, patchwork shirts, cut-out tops with white lace and caps for his upcoming label, Caroline Fifteen.
For more on the circular economy, head to our Pre-Loved section.
The perks of upcycling your clothes are endless. For one, it’s a chance to revive old, unworn pieces taking up space in the back of your wardrobe, while saving on new purchases. Or, as Fletcher says, you can scour the aisles of your local op shop for a secondhand find.
Upcycling also offers a rare chance to get creative with a hands-on activity. Open up a sewing guide (like the one below), pop a podcast on and enjoy an afternoon spent making something old, new again. Given we’re (slowly but surely) moving into warmer weather, we asked Fletcher how he’d approach turning a pair of jeans into shorts – beyond simply cutting them off at the knee.
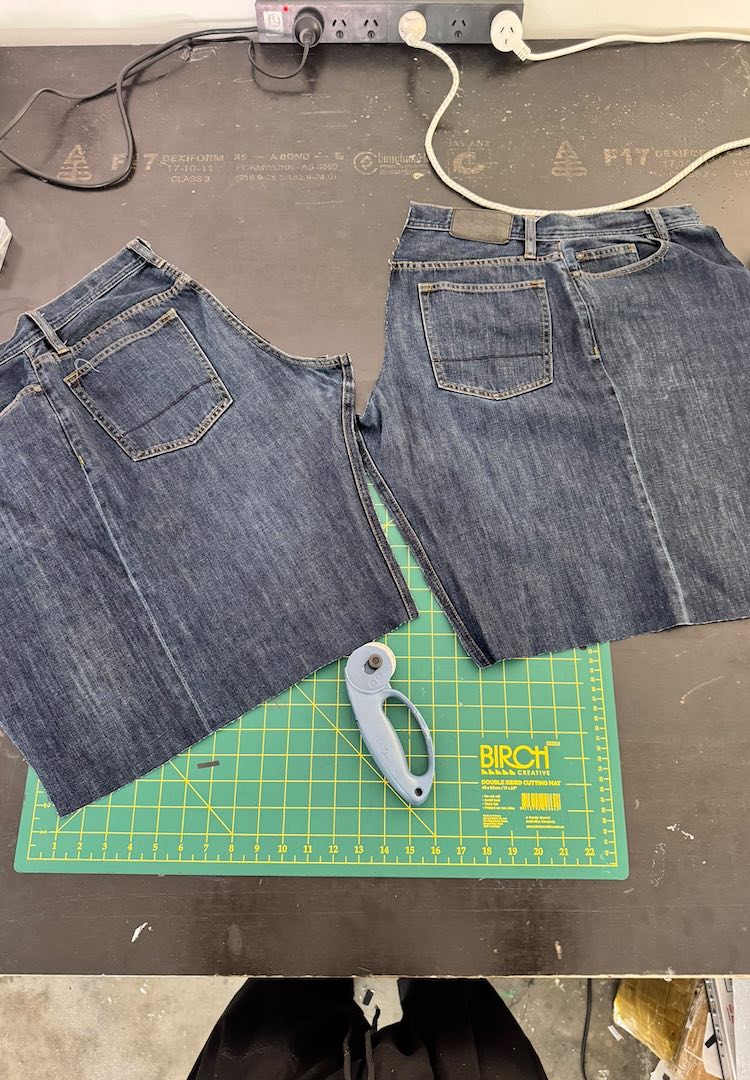
Step one
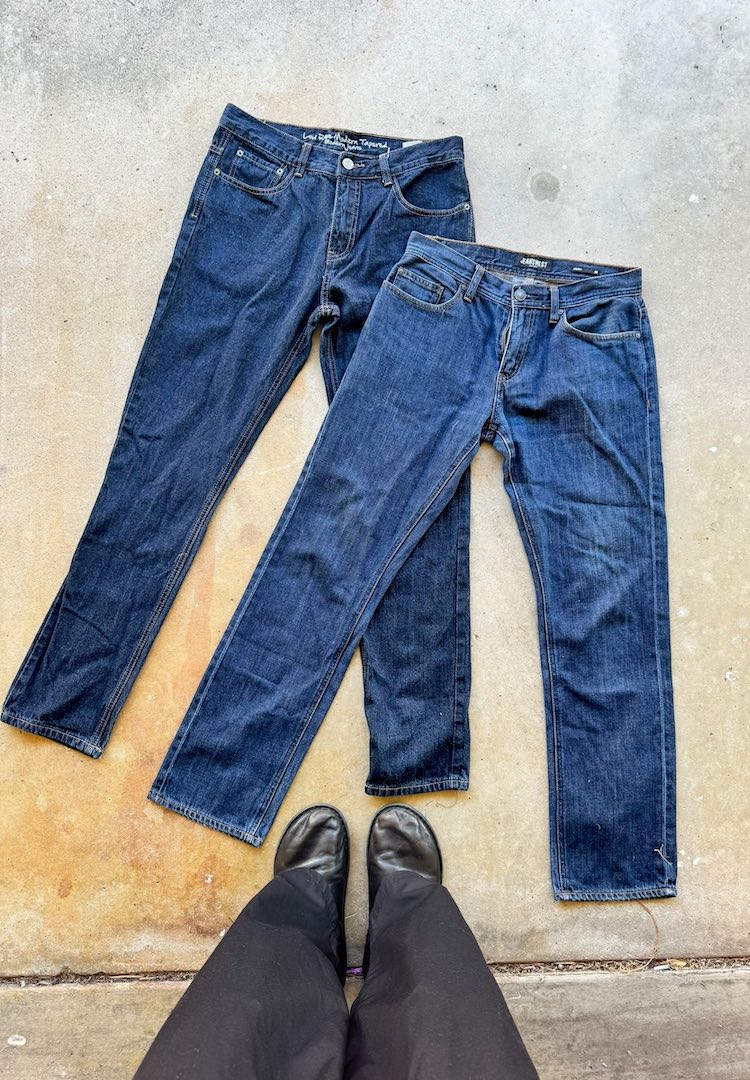
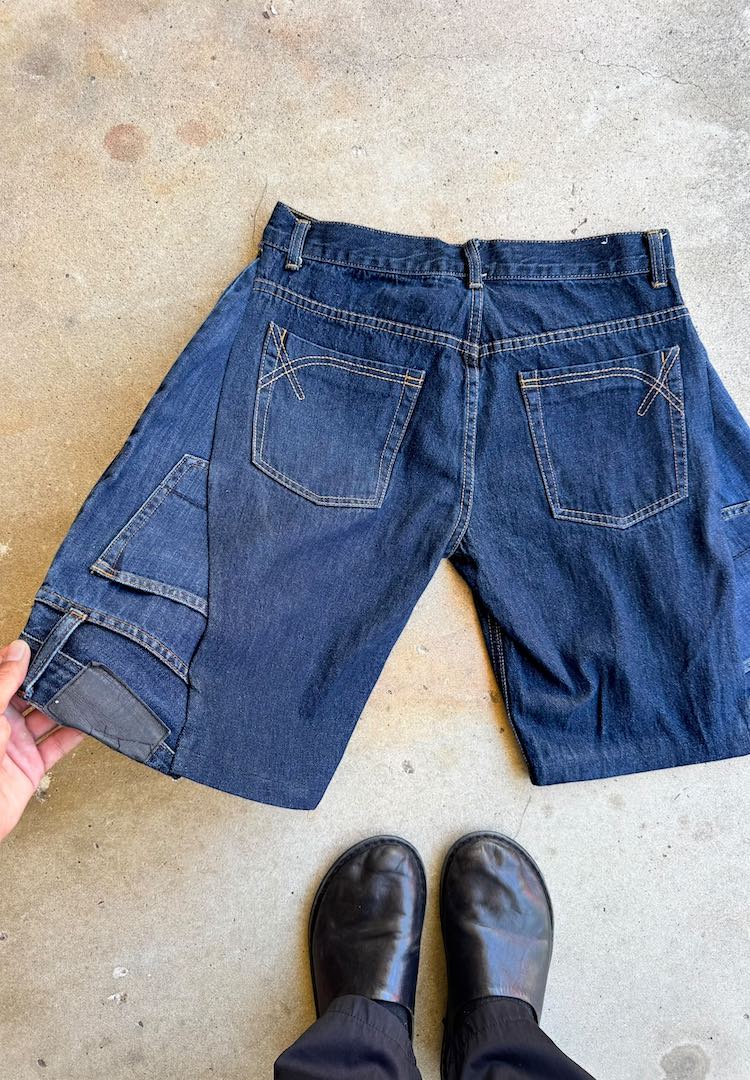
I started with two pairs of indigo jeans, both around a size 30. I found them super cheap at my local op shop. I try to pick dark denim because it blends nicer once everything gets cut up. Laying them flat helps me see the shapes and decide which pair will be the base and which one I will chop up for panels. Nothing fancy, just simple sourcing before the fun starts.
Step two
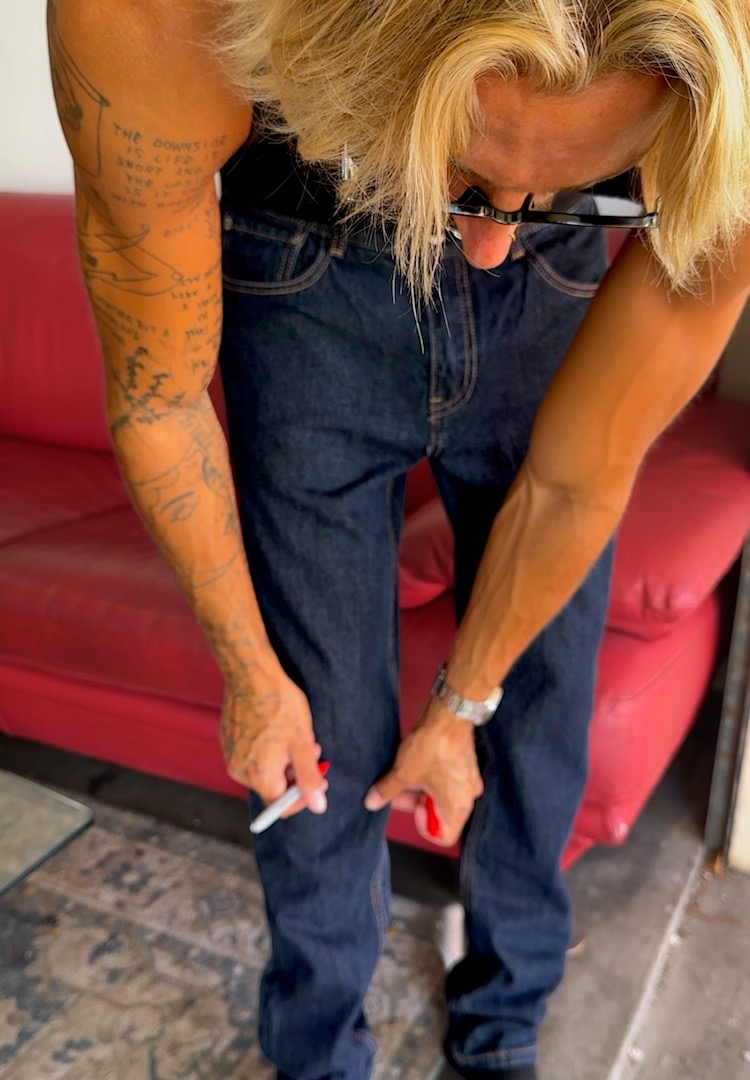
I put the jeans on and marked the length for the shorts by eye. Using a mirror makes it easier to see how the cut will actually sit on the leg. I go a bit longer than needed so I have room for the seam allowance. It never has to be perfect here, denim is forgiving and you can tidy things later if needed.
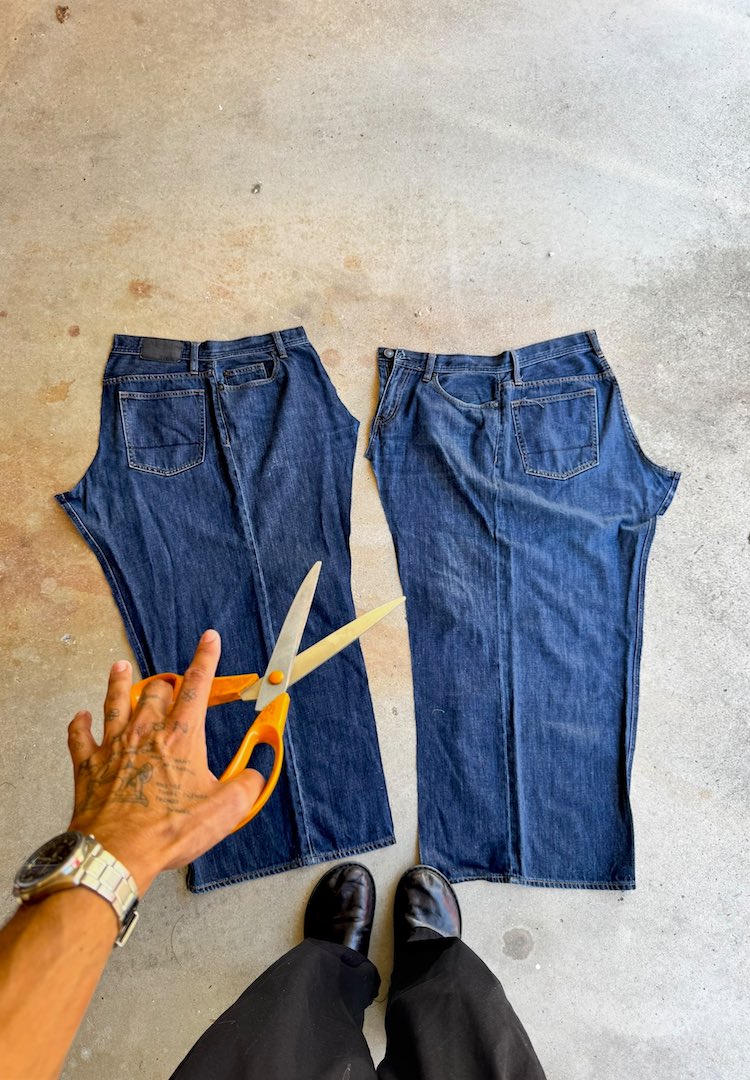
Step three
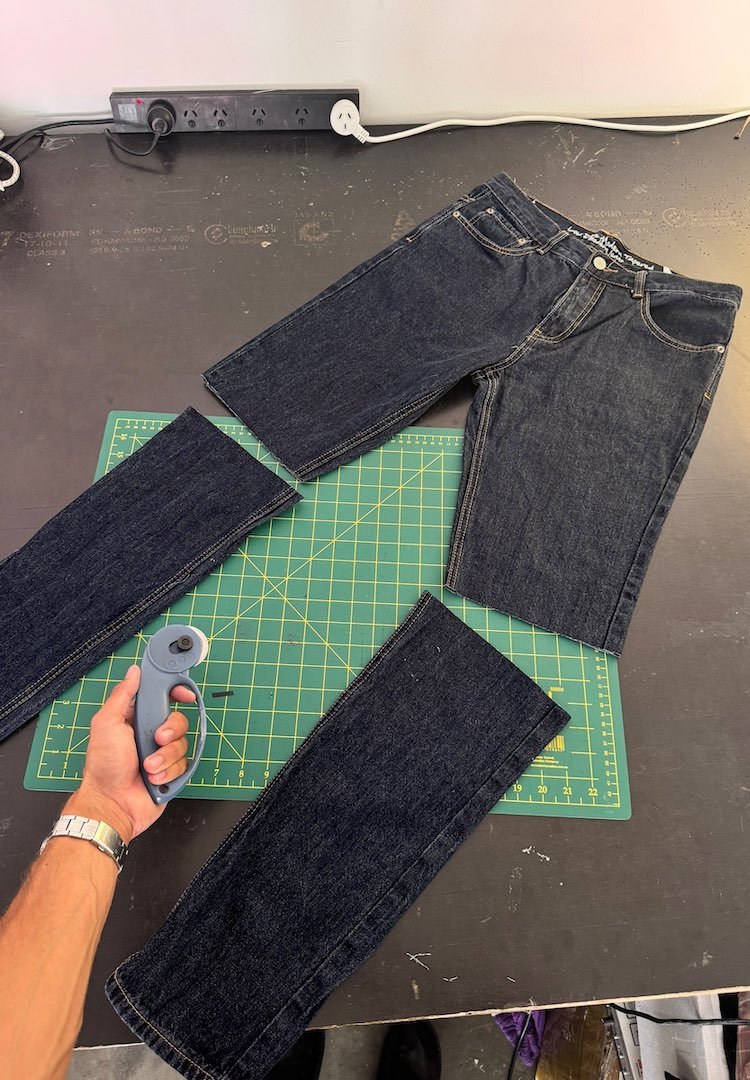
Once the length is marked, I cut both legs using a rotary blade. Scissors work fine too but the blade gives a straighter line. I line up the legs so the cuts match and slice just above the mark. This is the moment the jeans basically stop being jeans and start turning into the new shape.
Step four
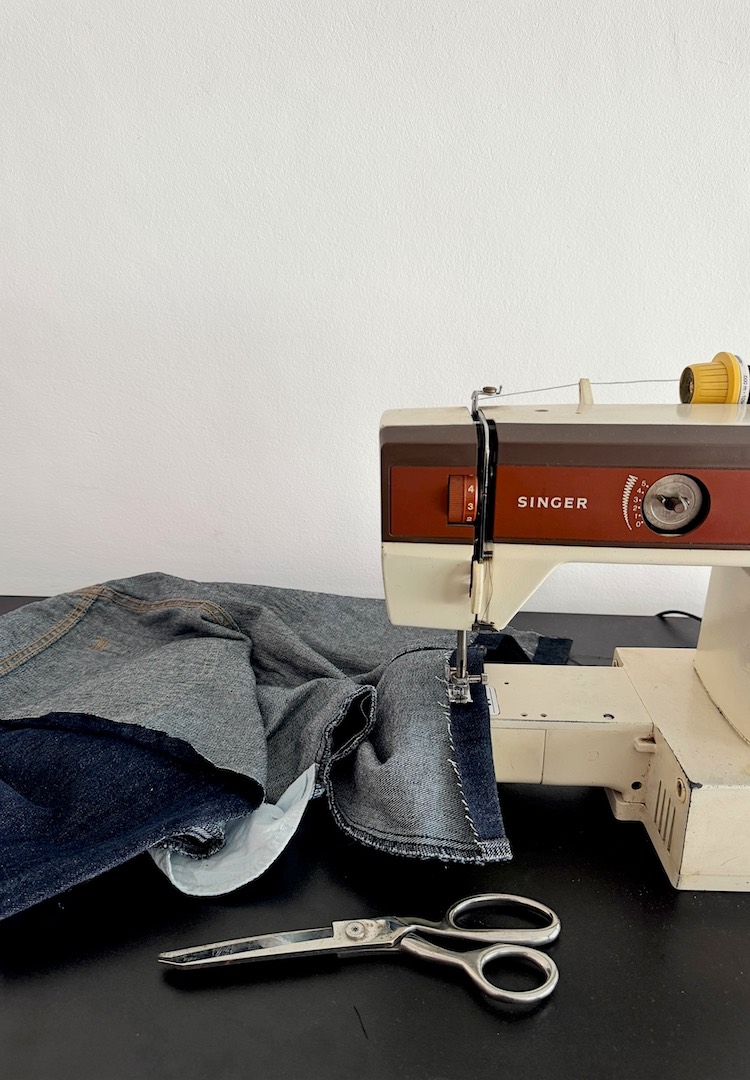
I fold the raw edges under to create a clean cuff. I sew it with a straight stitch and black thread so the hem looks neat and not too heavy. A simple double fold stops fraying and makes the shorts feel finished straight away. It’s a small step but makes a big difference.
Step five
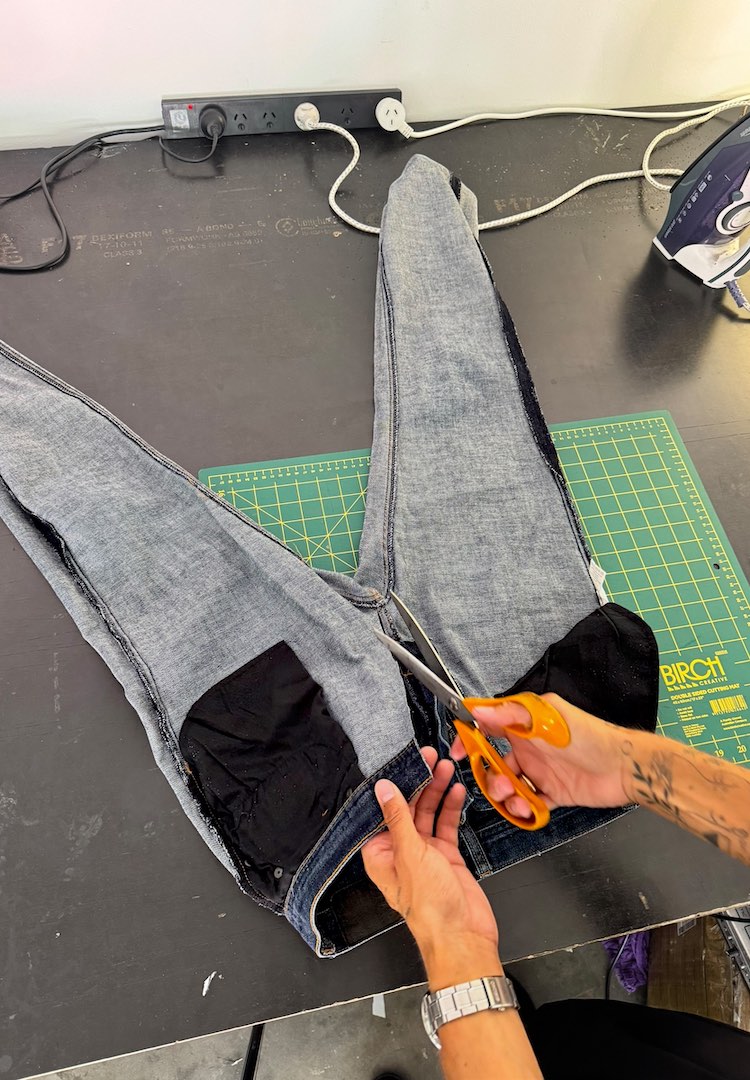
The second pair becomes the donor denim. I flip them inside out and cut straight through the crotch seam so the jeans open up into two flat legs. I’m not trying to get perfect shapes yet. I just want as much usable fabric as possible before trimming things down later.
Step six
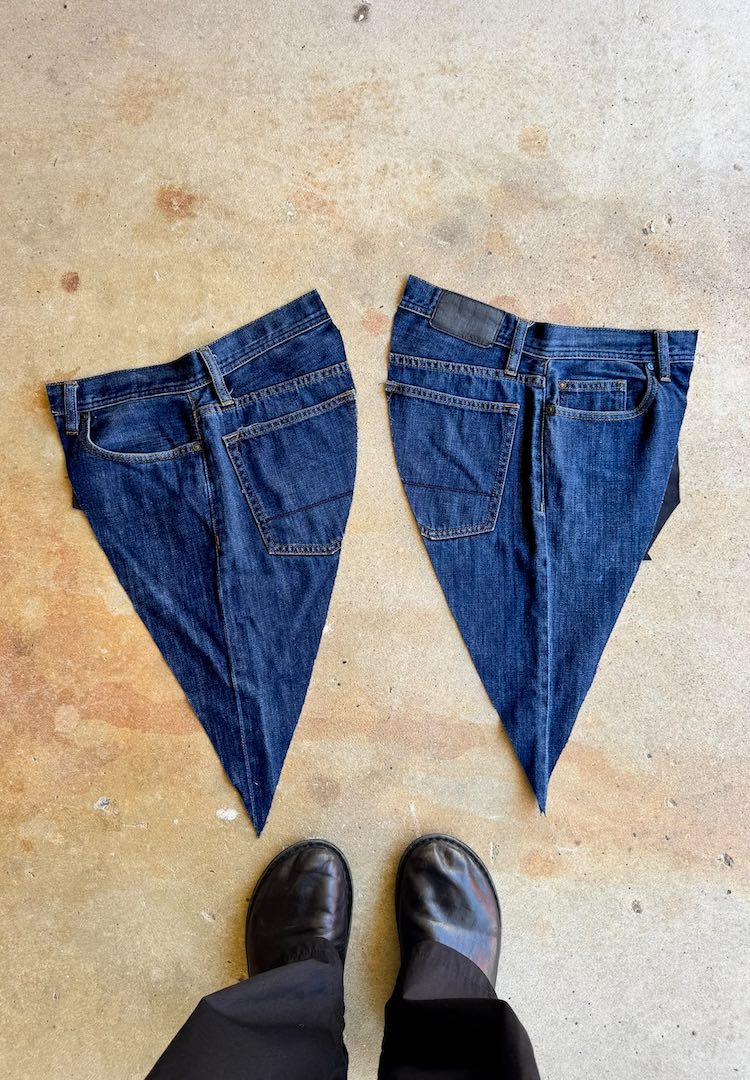
I trim each donor leg so it matches the height of the side seam on the main shorts. I try to keep the pockets and stitching because they look great once moved around. To create the triangular shape, I find the middle at the hem and draw a line up toward the waistband. I angle the sides in so the panel narrows naturally, which helps make the shorts wider without looking strange.
Step seven
I pin each triangular panel into the open side seams. This step takes a bit of patience. I match the top to the waistband and the bottom to the hem, then ease the panel in so it spreads out evenly. I pin from the inside so the outside seam stays cleaner. Once everything lays flat, they are ready for stitching.
Step eight
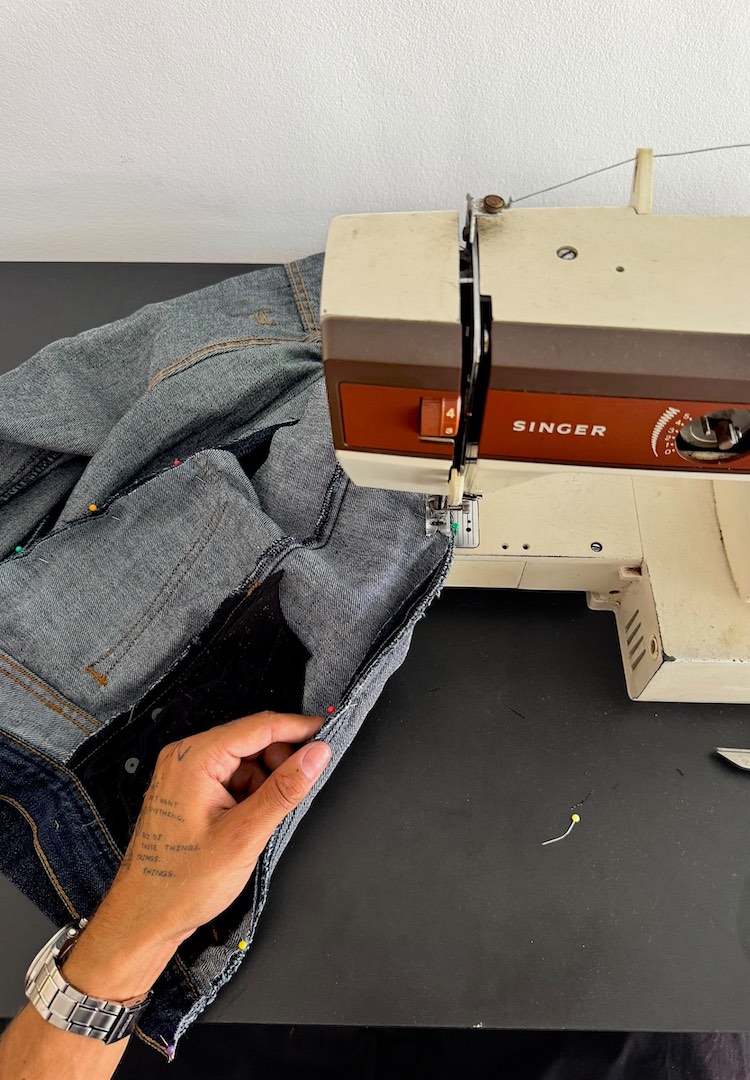
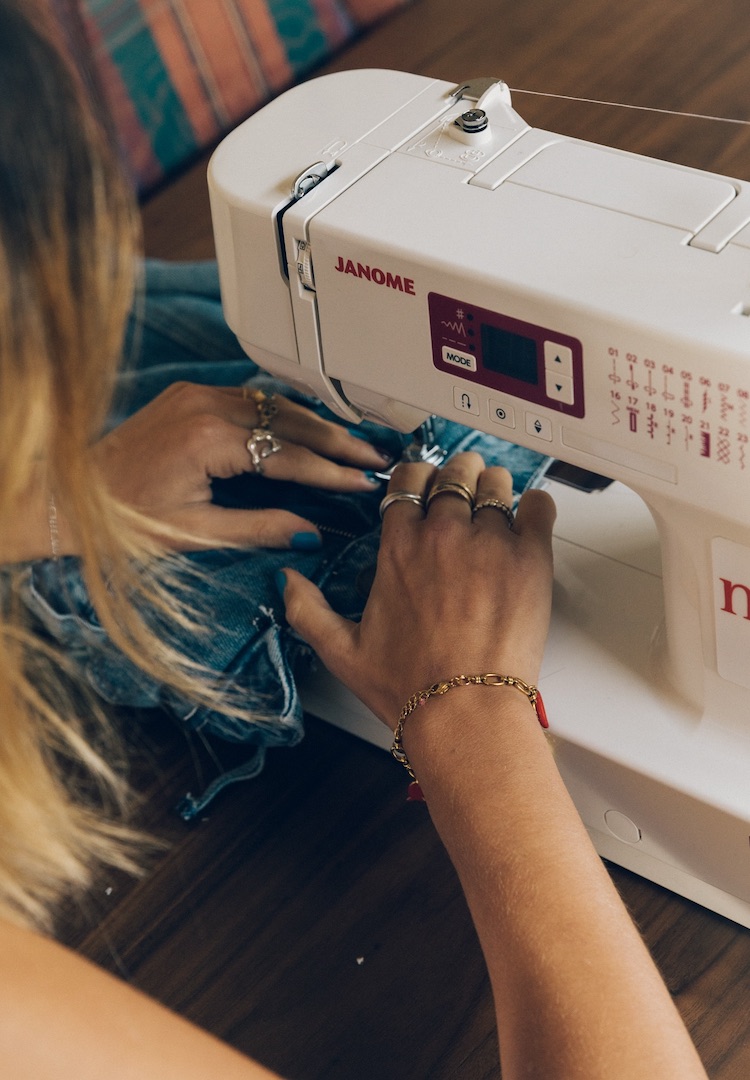
I sew the panels in with a straight stitch. I go slow and take the pins out as I reach them because sewing over pins can snap the needle. I backstitch at the top and bottom to keep the seams strong. When you flip the shorts right side out, you start to see the proper wide shape forming.
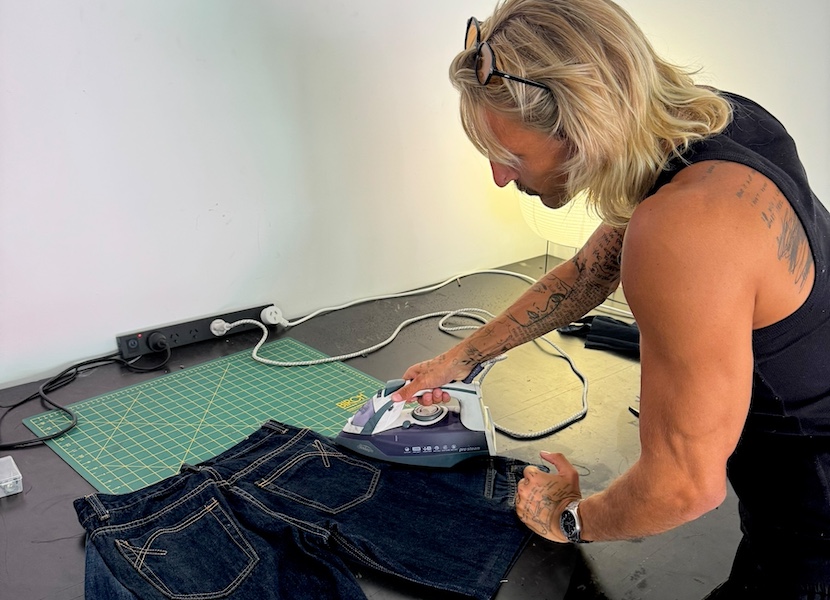
Step nine
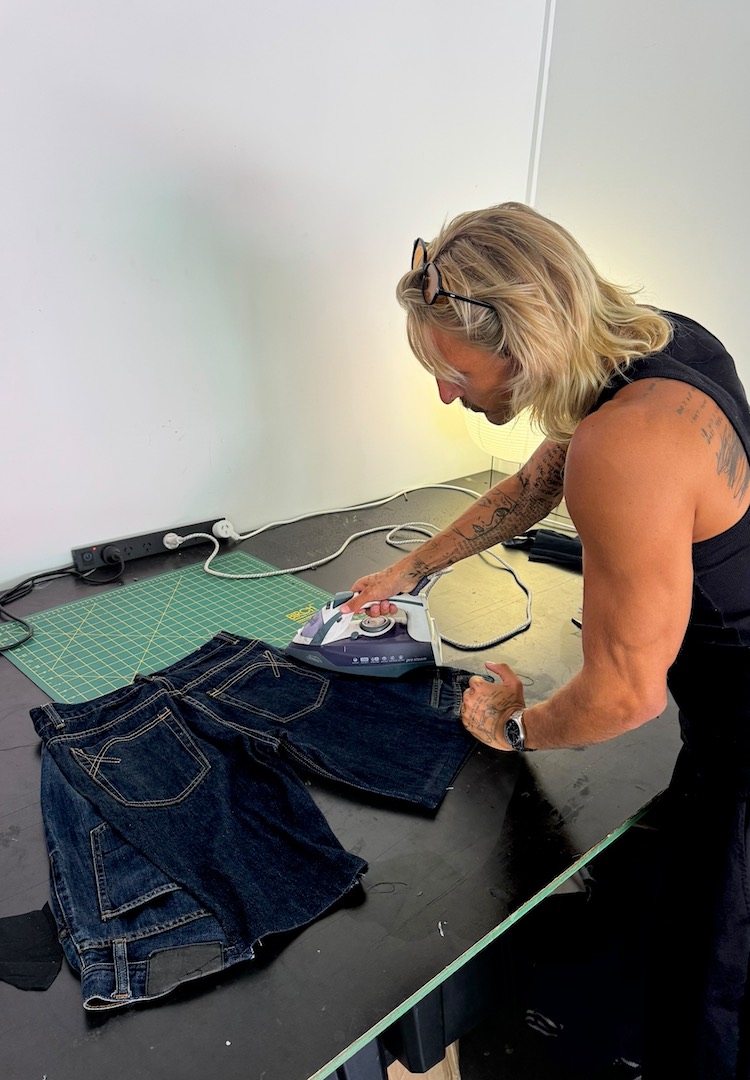
I press all the seams with an iron. Pressing helps the denim relax into its new shape and stops little bumps from forming under the topstitching. It also gives you a clear look at the actual silhouette before adding anything else. It’s such a simple step but honestly it makes the whole piece sit better.
Step 10
Now the shorts have their real shape. The pockets from the donor jeans end up lower on the sides which gives them a nice custom feel. The inverted panels give the shorts that balloon style that is super comfortable. At this stage I just check that both sides match and the hems sit even.
Step 11
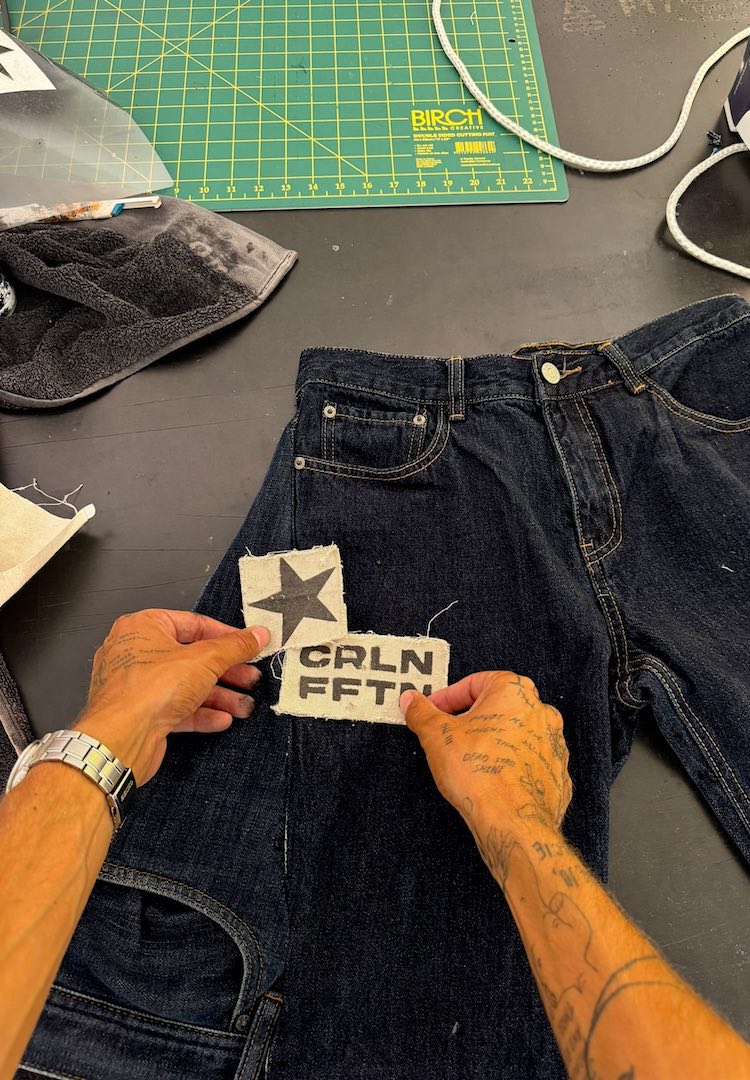
To add a bit more personality, I make distressed linen patches. I’m going for a light Y2K feel so I rough up the edges by hand and let them fray naturally. I use old stencils from my brand, Caroline Fifteen. I spray black paint through the stencils which gives the patches that imperfect, handmade look. They are quick to make and add nice texture.
I test out where I want the patches to sit. They are meant to look a little janky and worn, that is part of the charm. I choose spots that dont cover too much of the denim details but still stand out. These patches are more like a statement than a perfect graphic so the rough edges feel right.
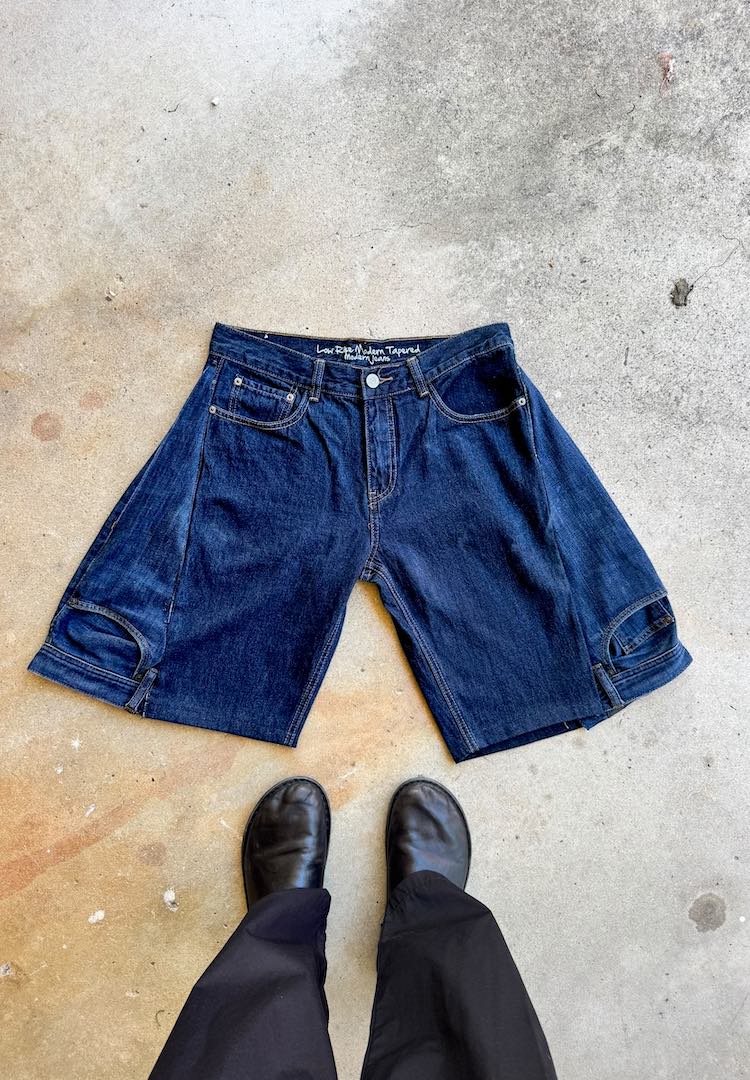
Step 12
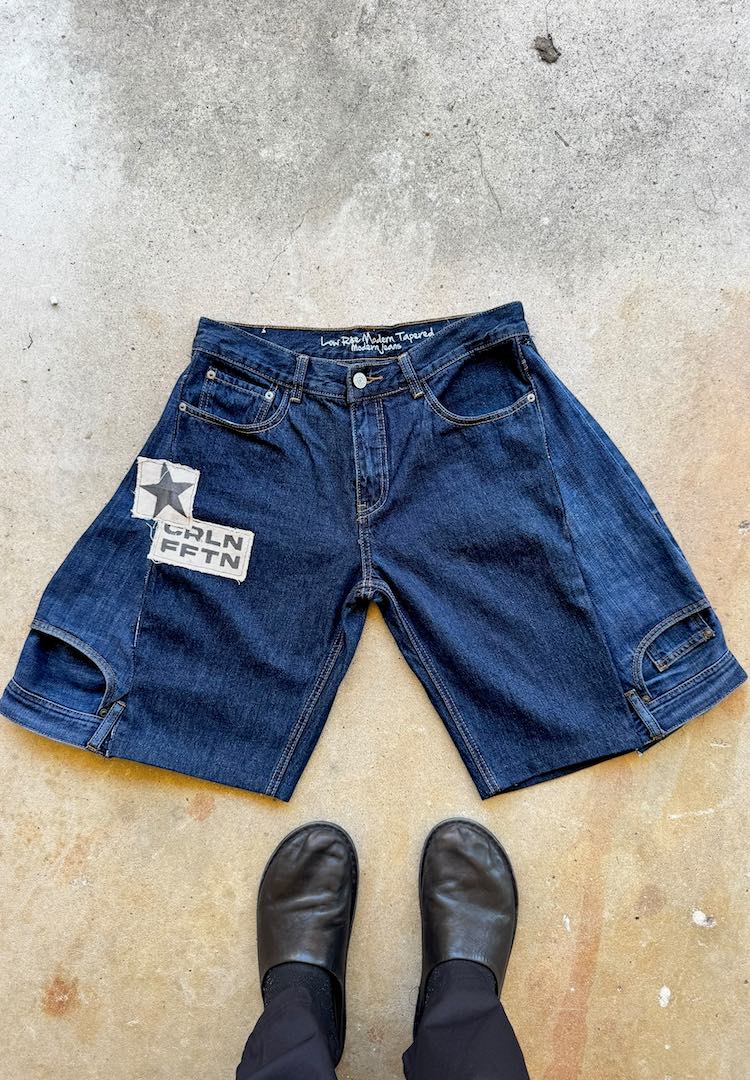
Here is the final flat lay. You can see how wide the shorts have become, almost a balloon shape that works really well in summer. The linen patches add some extra personality without taking over. The pockets sitting low give it even more character. Over time the patches will fray and get better with wear.
Step 13
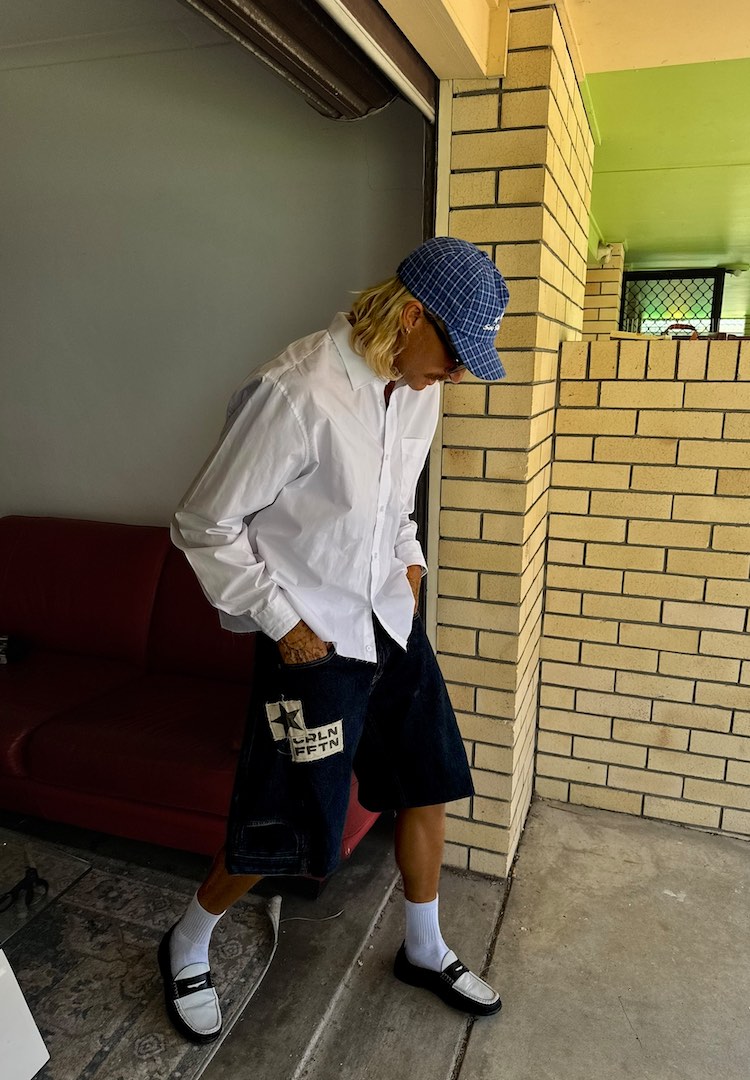
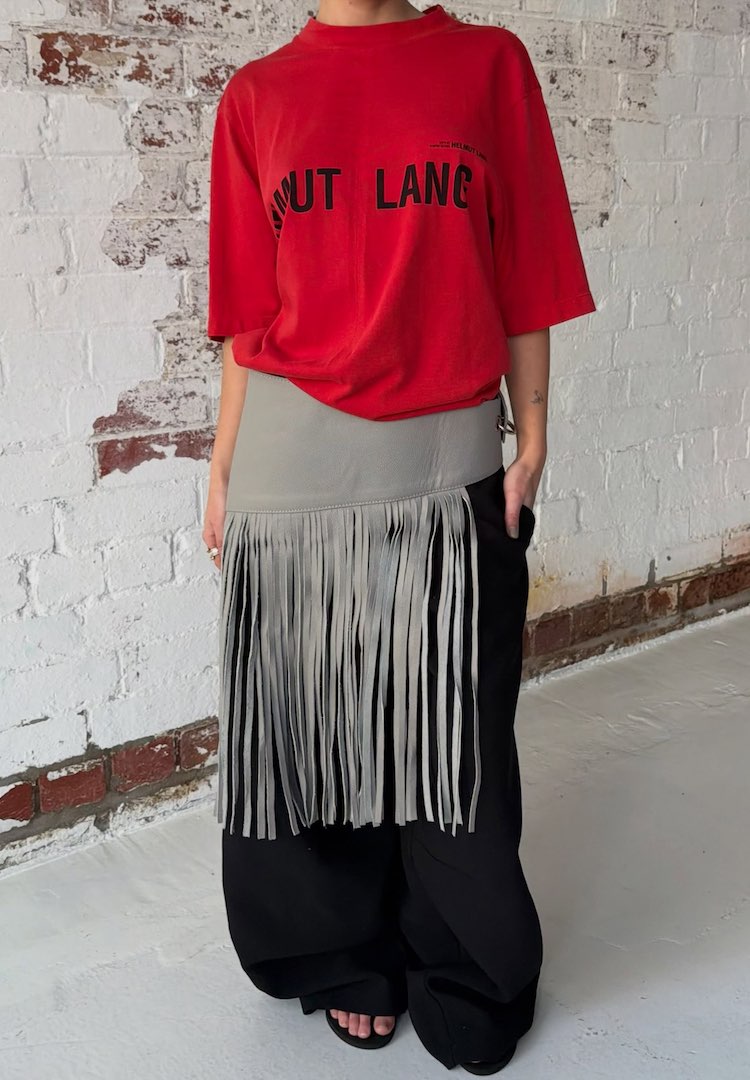
And here is how they look styled. I like wearing them with a button up shirt and loafers but they also work great for a festival or a casual day. Dark blue denim is super easy to style and fits heaps of diferent occasions. The bagginess makes them comfy while still feeling put together.
Find more from Fletcher here.
Liked this? You’ll love these...